In this tutorial we are going to look at one of the indirect illumination models available in mental ray.
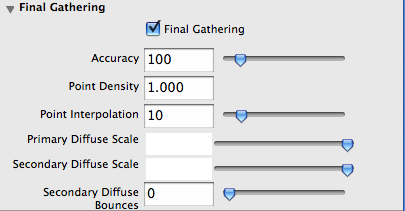
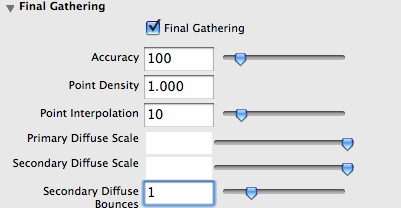
Final Gather
Lets get started shall we!
First we need to Acquire a model to work on.
- 1. Go to file>Open Scene and choose the cornellBox1.ma file. (This will be in the mentalRay project provided in the first mental ray tutorial)
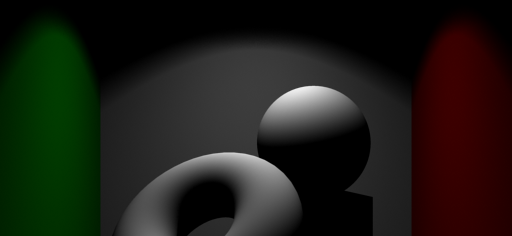
- 2. Once the file is opened you should see something like the image below.
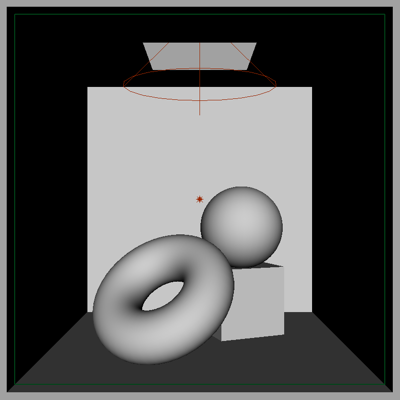
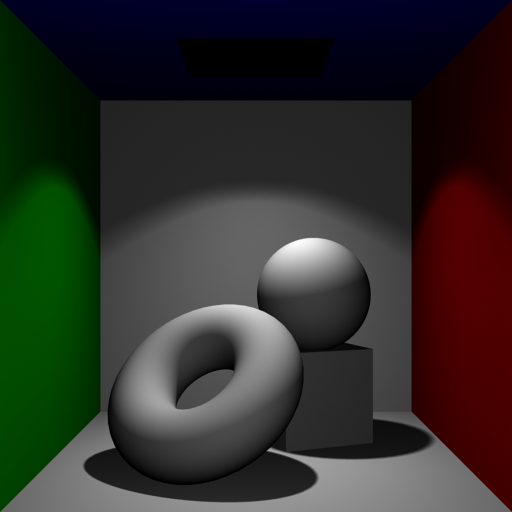
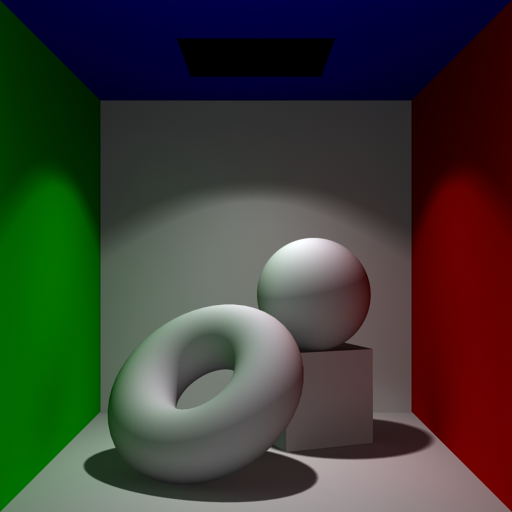
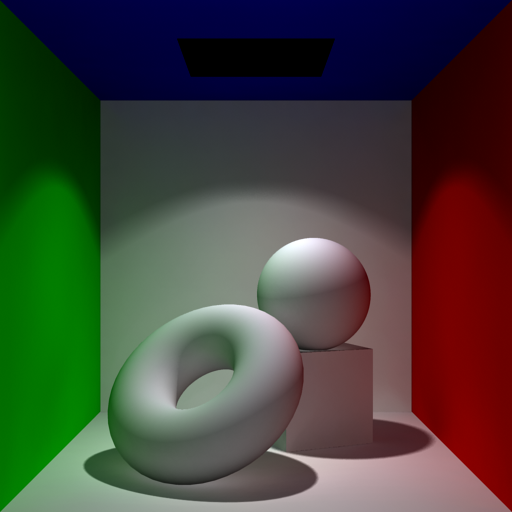
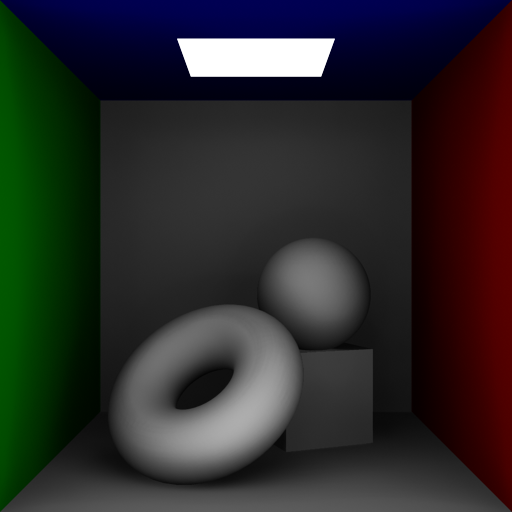
This scene is what is called a cornell box. You may have seen examples like this online. It is a standard way to show how light works.
We are looking into a cube with a hole in the top. The back wall, floor and objects all have a white lambert applied. The left wall has a green lambert applied. The right as a red lambert and the ceiling has a blue lambert. The reason for the colors is to both see how the light effects different colors and to see how the colors will bounce around the room with final gather.
Our direct illumination sources are a spot light aiming through the hole in the ceiling. It is casting soft raytracing shadows. We also have a fairly dim point light outside of the front of the box to add a bit of fill to the scene to brighten up the shadowed areas.

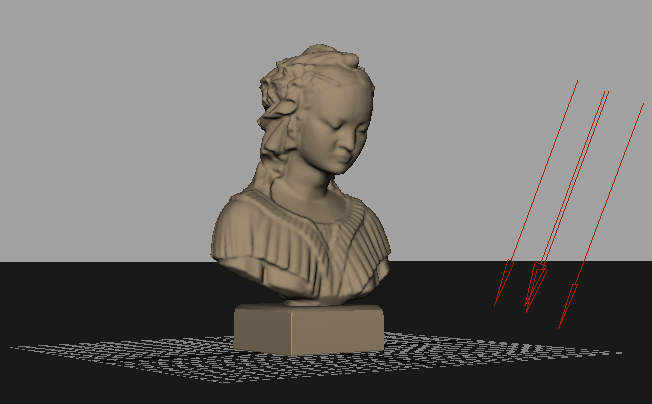
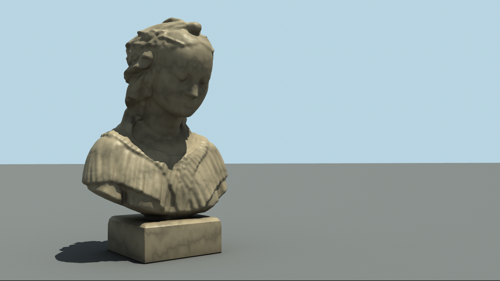
What I want you to do now is pick your favorite model you made this semseter and render a picture of it using what we have learned so far about render optimization and final gather.
Above all I want to see good renders here.
You must include the following settings/elements in your render
- Good Anti-Aliasing
- Raytracing Optimization
- Some Direct Illumination (With ray traced shadows)
- Camera Environment Color (something other than black)
- Final Gathering
- Render your final image to 1280x720
Now! Let's move on to Global Illumination!