header printable version

In this tutorial we are going to look at one of the indirect illumination models available in mental ray.

Final Gather

What is indirect illumination? For that matter what is direct illumination?

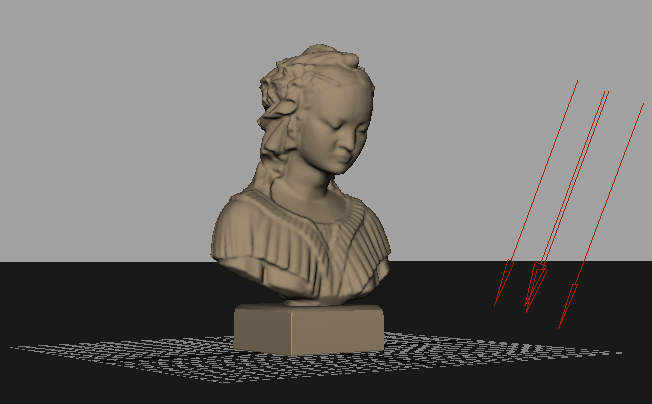
In 3D computer graphics, direct illumination is any illumination an object recieves directly from a light source. If you have a spot light aimed at your object and it is illuminating it. That object is recieving direct illumination from that light source. (see image below)

spotAloneCrop

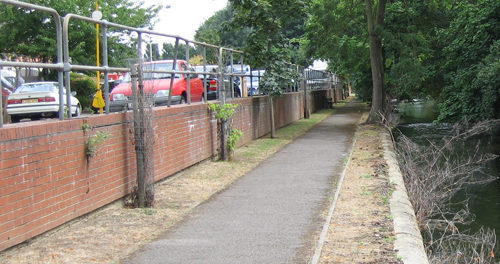
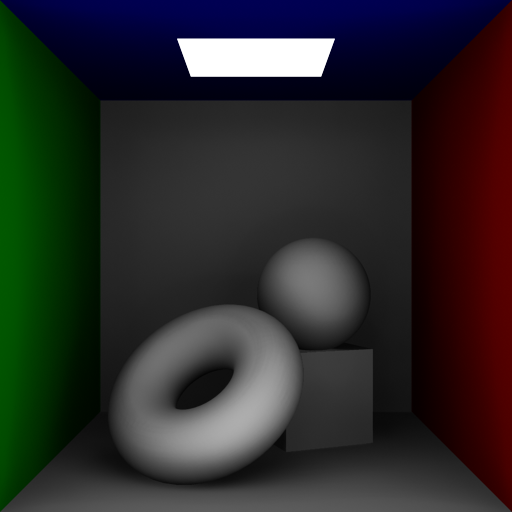
Indirect illumination is illumination an object recieves indirectly. In real life, a light photon doesn't simply come from a source and hit an object and stop. It bounces off of that object and travels around a given space until it's energy runs out. Think of an overcast day. The clouds completely block the suns "direct" illumination from hitting the ground, but we can still see there is light outside. However, the light is dimmer, more even and shadows are extremely soft. (see photos below)
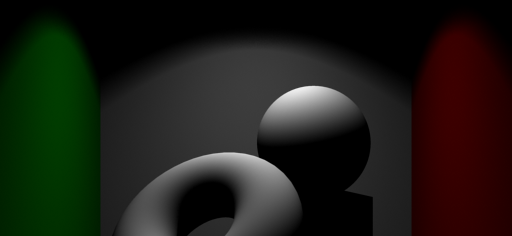
direct
Direct Illumination Example

indirect
Indirect Illumination Example

So, how do we do this in computer graphics? More specifically in Maya? More specifically with Mental Ray?

I am glad you asked.

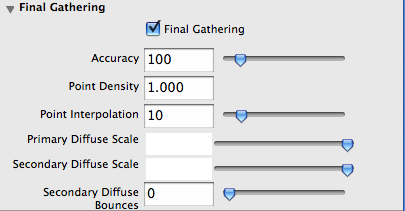
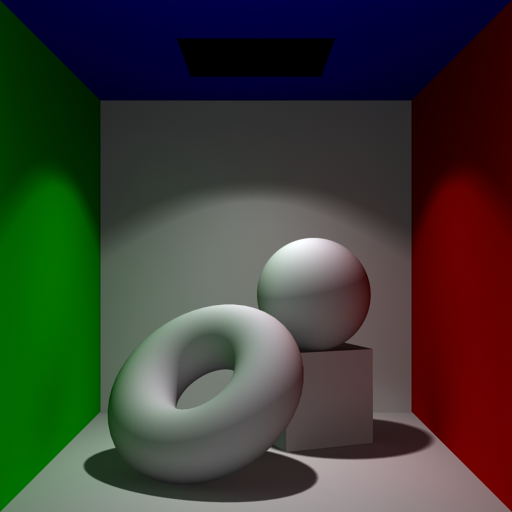
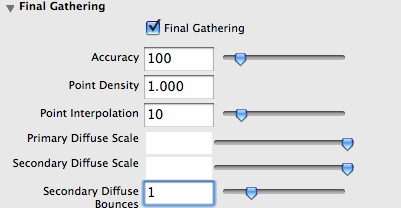
As stated above one of the tools we have for achieving this is called "Final Gather."


Lets get started shall we!

First we need to Acquire a model to work on.

  1. 1. Go to file>Open Scene and choose the cornellBox1.ma file (This will be in the mentalRay project provided in the first mental ray tutorial)
  2. 2. Once the file is opened you should see something like the image below.


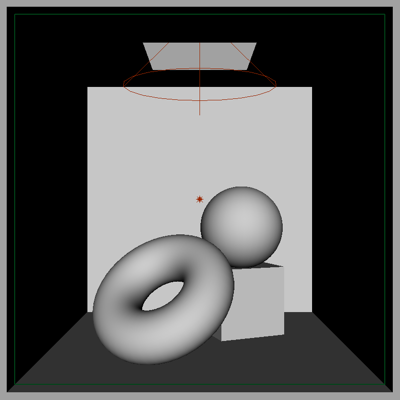
This scene is what is called a cornell box. You may have seen examples like this online. It is a standard way to show how light works.

We are looking into a cube with a hole in the top. The back wall, floor and objects all have a white lambert applied. The left wall has a green lambert applied. The right as a red lambert and the ceiling has a blue lambert. The reason for the colors is to both see how the light effects different colors and to see how the colors will bounce around the room with final gather.

Our direct illumination sources are a spot light aiming through the hole in the ceiling. It is casting soft raytracing shadows. We also have a fairly dim point light outside of the front of the box to add a bit of fill to the scene to brighten up the shadowed areas.


Lets do a quick render to see what we get by doing nothing to our settings.

To make sure we are rendering in Mental Ray:

1. Open your Render Settings window.
2. Click and hold on the drop down menu at the top.
3. Choose mental ray from the list.


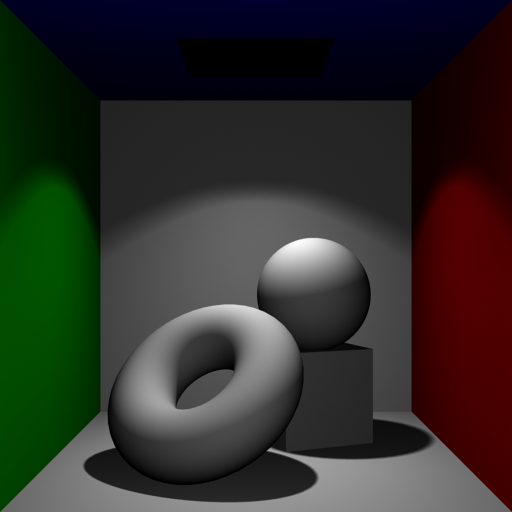
This is our cornell box rendering with direct illumination alone. Notice the green and red walls.
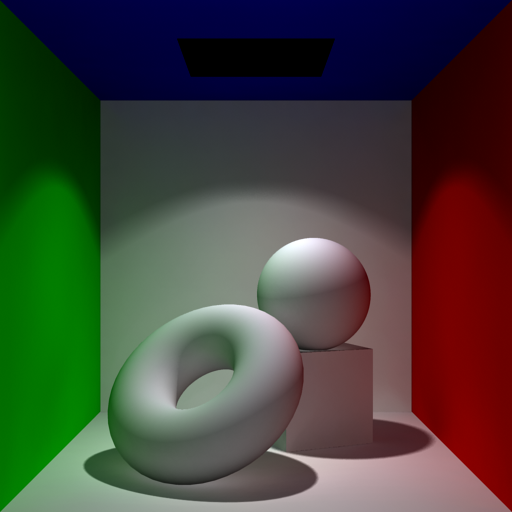
    1. While our illumination doesn't look bad here, you can definitely see that the light is not behaving realistically. There is a significant amount of light coming into our cornell box, but none of it is bouncing to illuminate the dark areas of the ceiling or back sides of our objects.

      Lets see what final gather can do for us?

      To enable 'final gather' open your render settings, scroll down to the final gathering section and swing it open.
      Check the box that says "Final Gathering". Leave it's settings alone for now.

      fgsettings1

      Without changing anything, do another render.

      cornellDirectFG

      Interesting... you can see that the scene is definitely more illuminated. Te blue ceiling is now recieving some illumination and the back sides of the objects are being lit up.

      You can also see that some of the green and red from the left and right walls is bleeding onto our objects. This is the process called color bleed which simulates the real world phenomenon where a photon will inherit the color of an object hit bounces off from.

      Let's see if we can get it to bounce around a bit more.

    2. In your final gatering section of the render settings scroll down to 'Final Gathering Options', swing it open and scroll down to the check box "Secondary Diffuse Bounces."

      Enable 'Secondary Diffuse Bounces.

      secondDiffuseBounce

      Do another render and check out what happens.

      secondDiffuse

      What you will notice is the final gather rays bounce an additional time allowing for more of the color to bleed around the scene including the white from the floor as you can see in the shadowed areas.

      What's nice about final gather is that it works both with and without any direct illumination sources. Let's see how that works shall we?

    3. Open the outliner and select pointLight1 and spotLight1
    4. Hit 'control + h' to hide the lights. (this essentially turns off their visibility in the channel box)
    5. Open your render settings and go to the common tab.
    6. scroll all the way to the bottom and in the 'render options' section
      1. uncheck the "Enable Default Light" box.
        defaultLightOff
    7. Do a render and see what you get.
      ........
      Did it come out black? Wait, I thought you said it would work? Ugh!
      Ok, calm down. This was deliberate.
      What's happening is that our final gather samples are hitting only black objects because our objects aren't being illuminated and our environment is black. By environment I mean the color of the area around our scene that is not actually an object. When a ray misses everything in your scene it still needs to return a value. That value is controlled by your cameras "Environment Color." When that color is black and we have no "direct illumination" everything in our scene will render black even if we have final gather on.
    8. Select your persp camera in the outliner.
    9. Open up the attribute editor, scroll down to the "Environment" section and swing it open.
      bgColor
    10. Set the Background Color to white and do another render.
      cornellFGAloneSD
      What we are now getting is a scene being illuminated by final gather alone.
    11. You can see the hole in the ceiling is now white as we are seeing through it to the white environment of our scene.
    12. You can also see how we are getting illumination from the direction of the camera. This is because the front face of our cornell box is open which means all of the final gather rays that point towards the camera hit the white environment of our camera and illuminate the scene.
    13. We are even getting some accurate soft shadows under our objects.

  1. Combining Direct Illumination with Final Gathering and a colored environment is actually a great way to get realistic lighting for outdoor type situations.

    If you think about it you have the sun that produces direct illumination and sharp shadows and you have the rest of the sky which is a bluish color that produces a subtle blue set of indirect illumination that fills in the shadowed areas. That is why shadows often appear blue.
    1. Open the outdoorBust.ma file
    2. Once the file is opened you should see something like the image below.

  2. raytracescene

    1. Right now this scene is solely direcly illuminated from the sun (Directional Light) alone.
    2. Open your render settings, go to the mental ray tab and enable final gathering.
    3. Select your persp camera in the outliner.
    4. Open the attribute editor and scroll down to Environment
    5. Set the Background Color to a light blue color.
    6. Render the Scene.
      bustRender1

      While there is still a lot of room for improvement artistically. It is a fairly realistic rendering with a slightly warm directional light and indirect illumination from our environment color.
  3. Pretty Cool huh?


check What I want you to do now is pick your favorite model you made this semseter and render a picture of it using what we have learned so far about render optimization and final gather.

Above all I want to see good renders here.

You must include the following settings/elements in your render
  1. Good Anti-Aliasing
  2. Raytracing Optimization
  3. Some Direct Illumination (With ray traced shadows)
  4. Camera Environment Color (something other than black)
  5. Final Gathering
  6. Render your final image to 1280x720

Now! Let's move on to Global Illumination!