Module 3 - Eases and Overshoots
Preface
This semester we will be using the amazing Malcolm 2.0 Rig provided free by Anim School for all of our animation assignments. In addition to the rig they provide an amazing UI toolset to customize and work with the rig called the AnimSchool Picker. There are subscription and paid versions of these tools, but the free versions are more than adequate for all we need.
If you haven't already done so please follow the link below to download and install the rig and picker. You can use Malcolm without the picker tool, but it is a lot easier to use if you have the picker tool installed. The instructions and support to install the picker can be found on the website as well.
Download and Install AnimSchool Malcolm 2.0 Rig & Picker Tool
Alternatively if Malcolm is proving to be more complex than you'd like you have the alternative Rig to work with called Ultimate Bonny. This is a faceless rig that is built primarily for work in body mechanics exercises. Feel free to use this rig instead if you'd like.
Download Ultimate Bonny Rig
Ease-Ins
A big part of balance is not only ensuring that your characters set themselves over their feet in a way that keeps them from falling, but that their overall motion in and out of the poses is fluid and has the proper momentum and ambience. This week we will be breaking down some of the specific "how tos" behind creating believable balance and motion.
We addressed in great detail the principles of slow-in and slow-out in Animation I. These terms are also called ease-in and ease-out. The principle of ease-in/out describes how motino slows as you approach and leave your keyframes over time. Easing would be a concept that is in contrast to linear motion or even an abrupt change in motion as you approach and leave your keyframes.
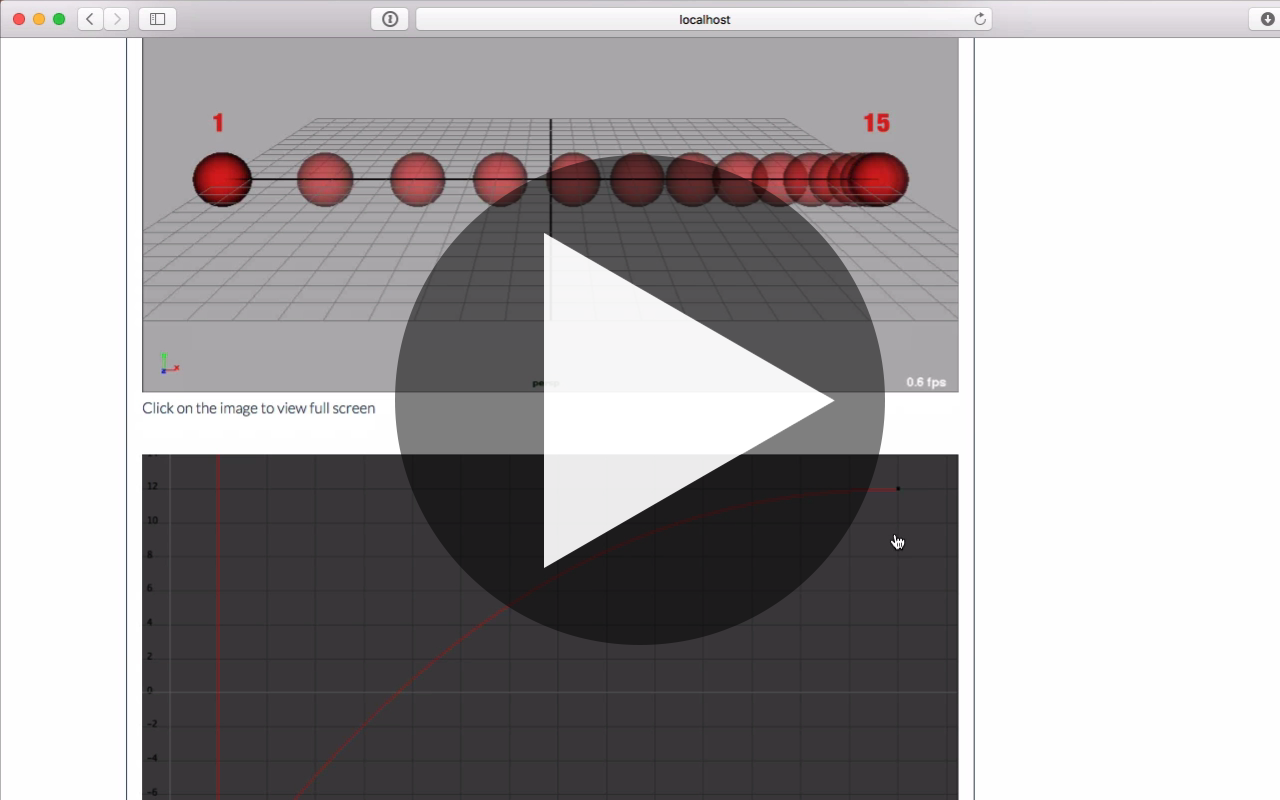
Here are a few examples of the difference of linear and easing motion from our principles class:
Linear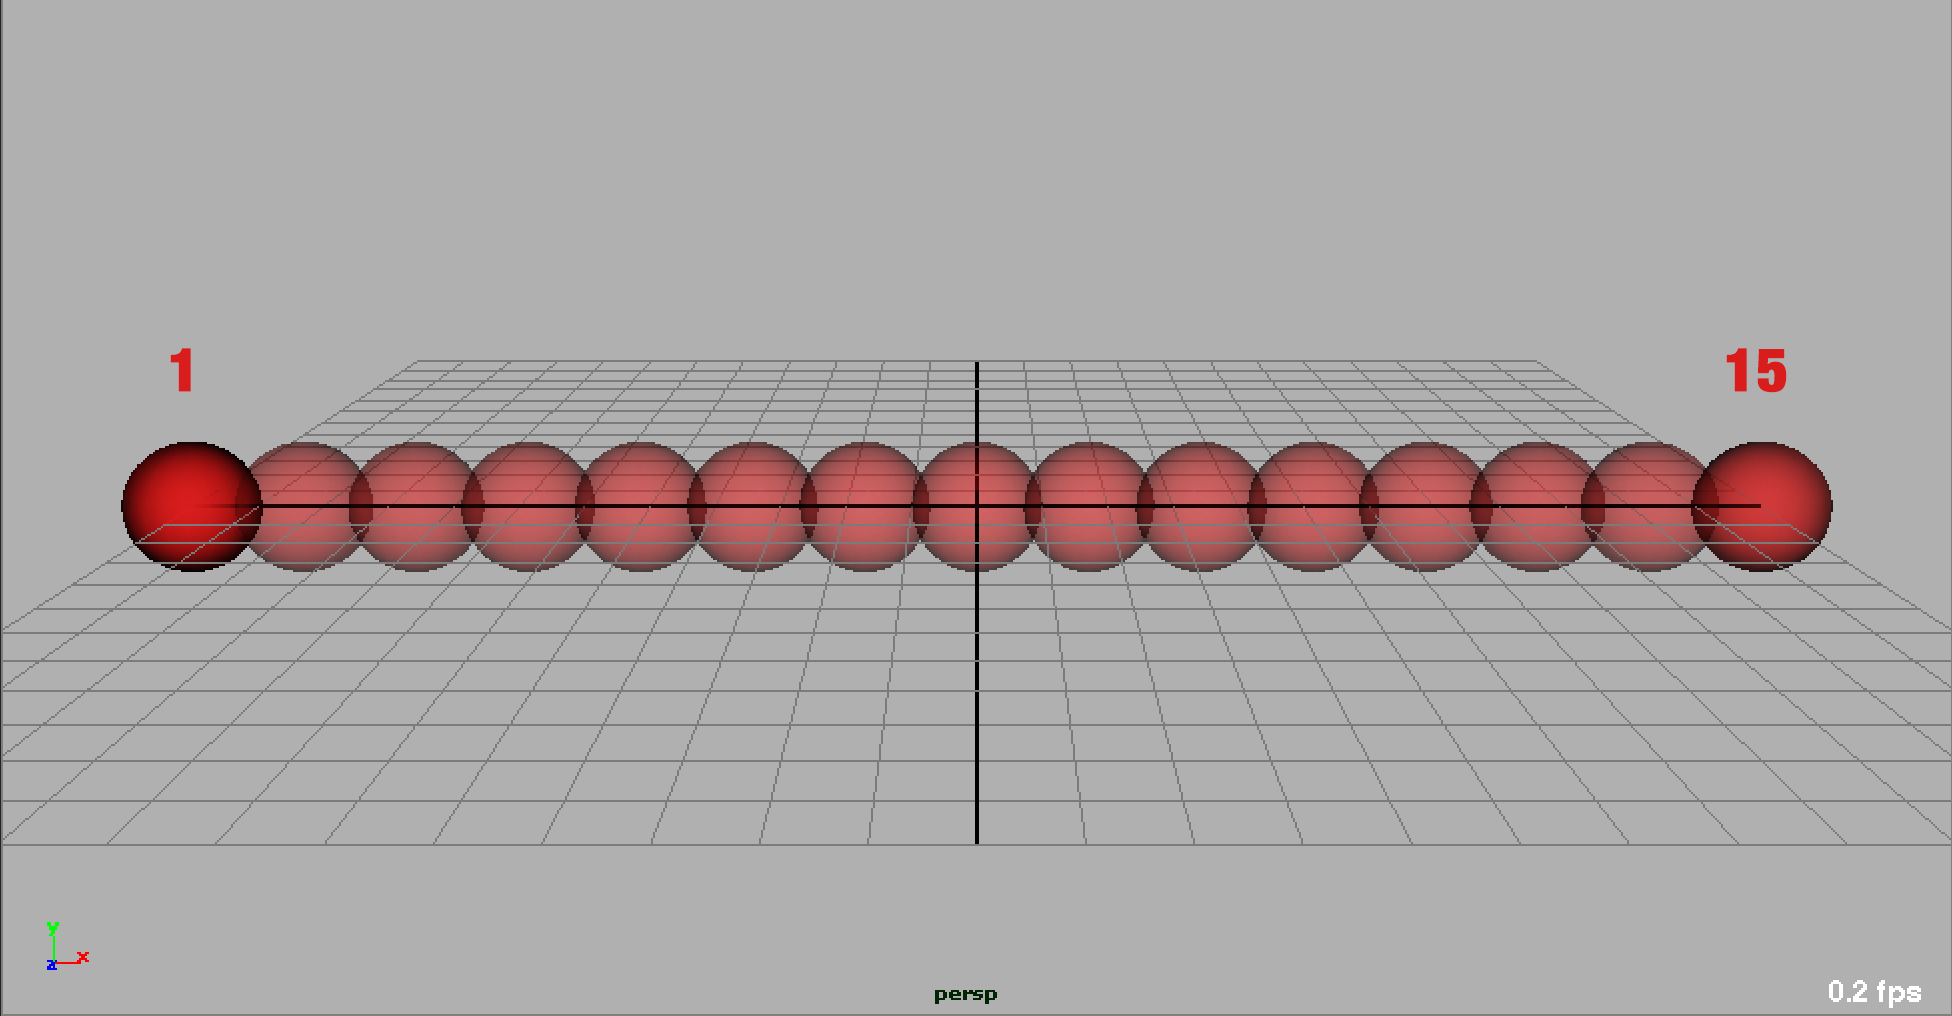 Click on the image to view full screen
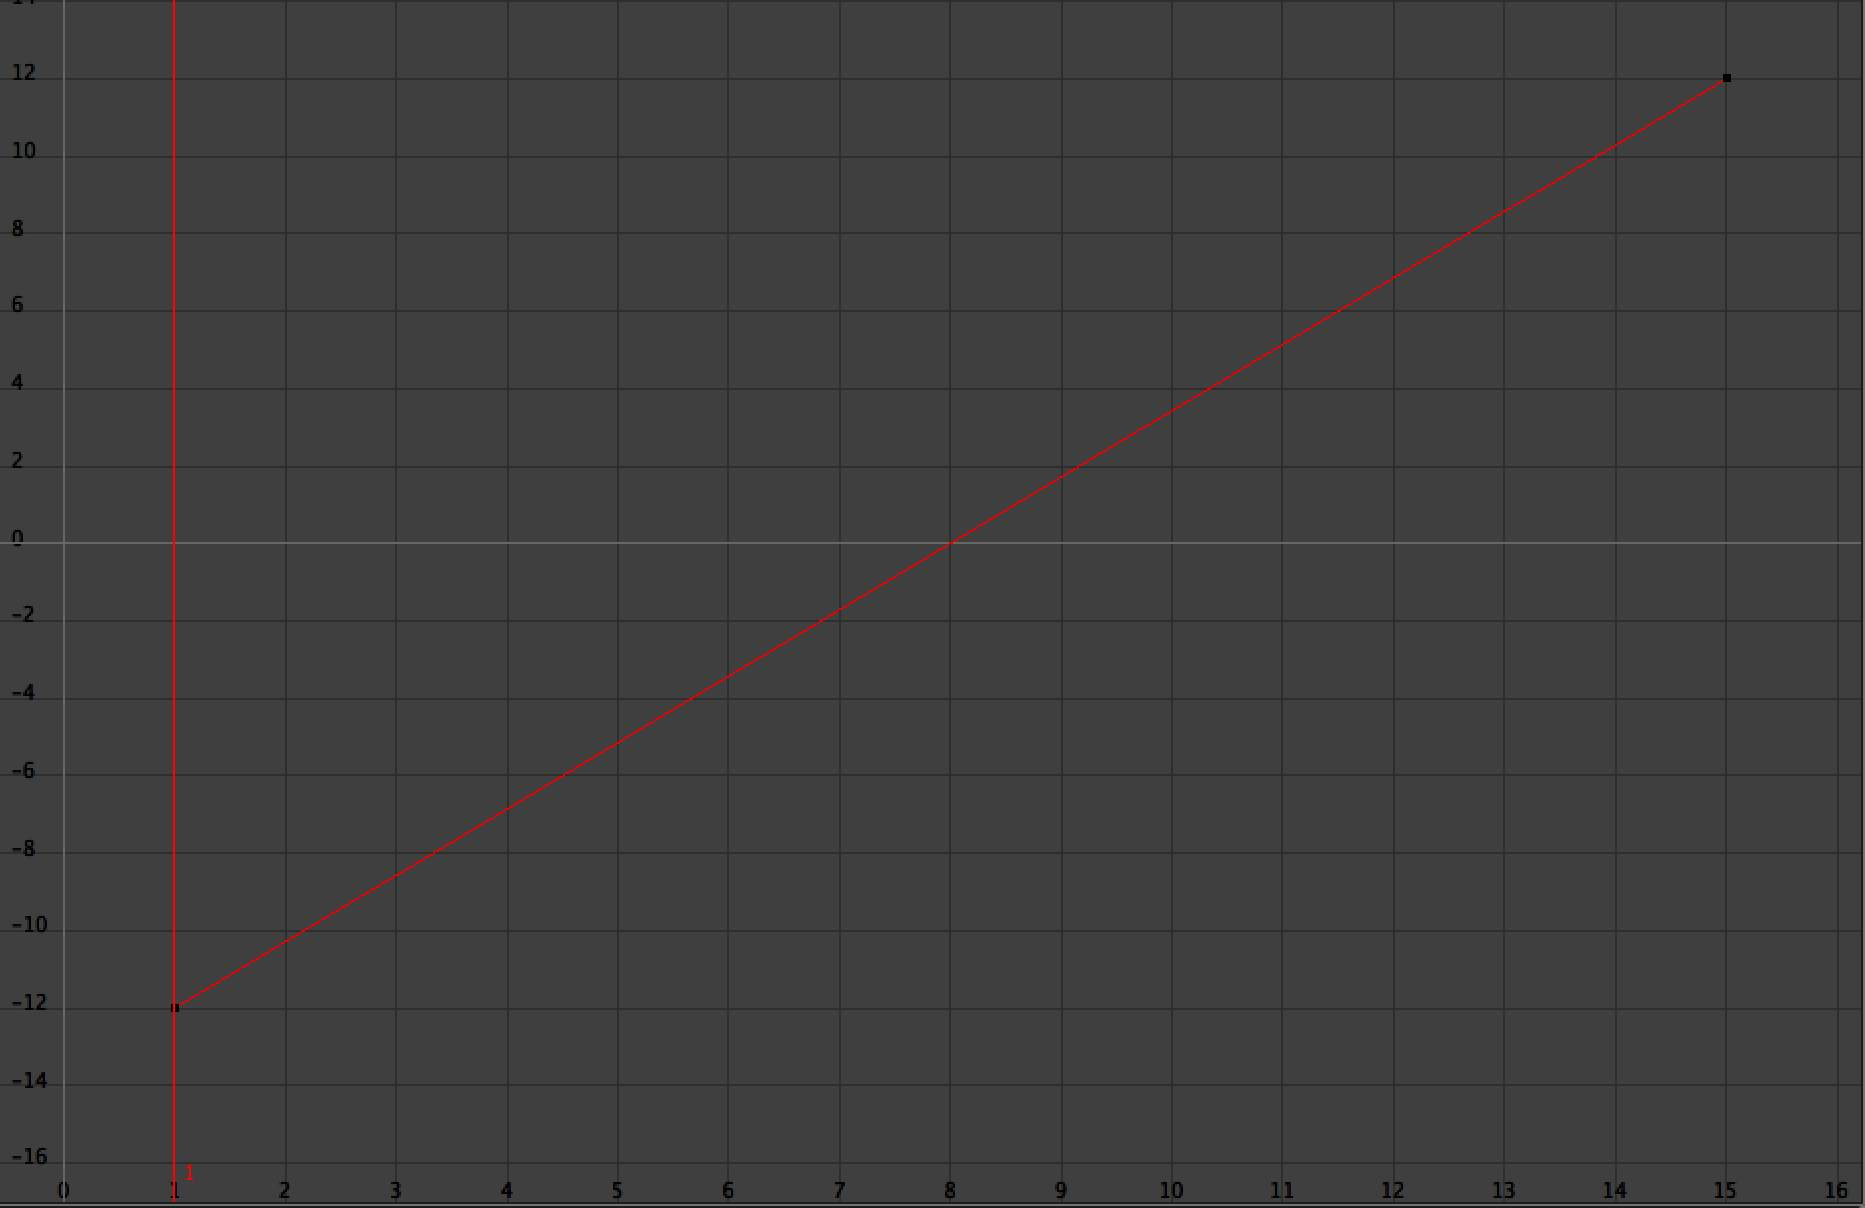 Click on the image to view full screen
Ease In and Out
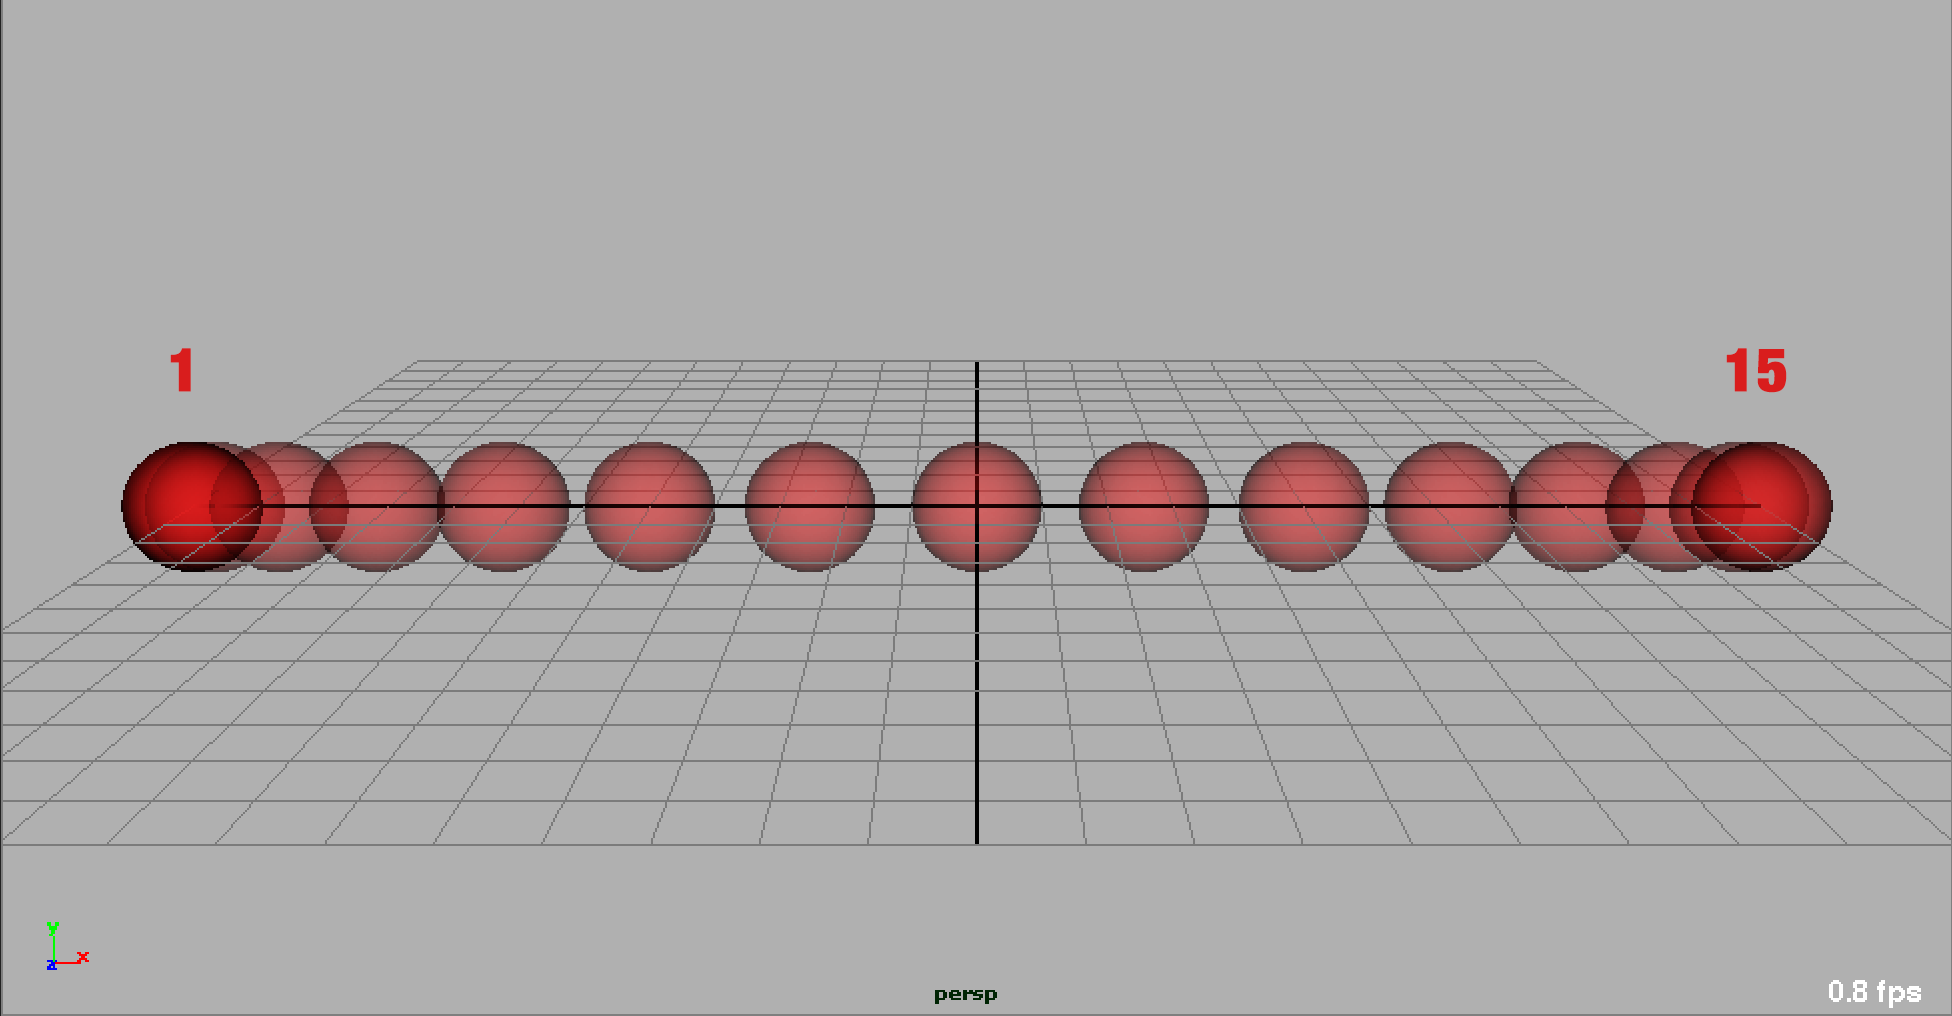 Click on the image to view full screen
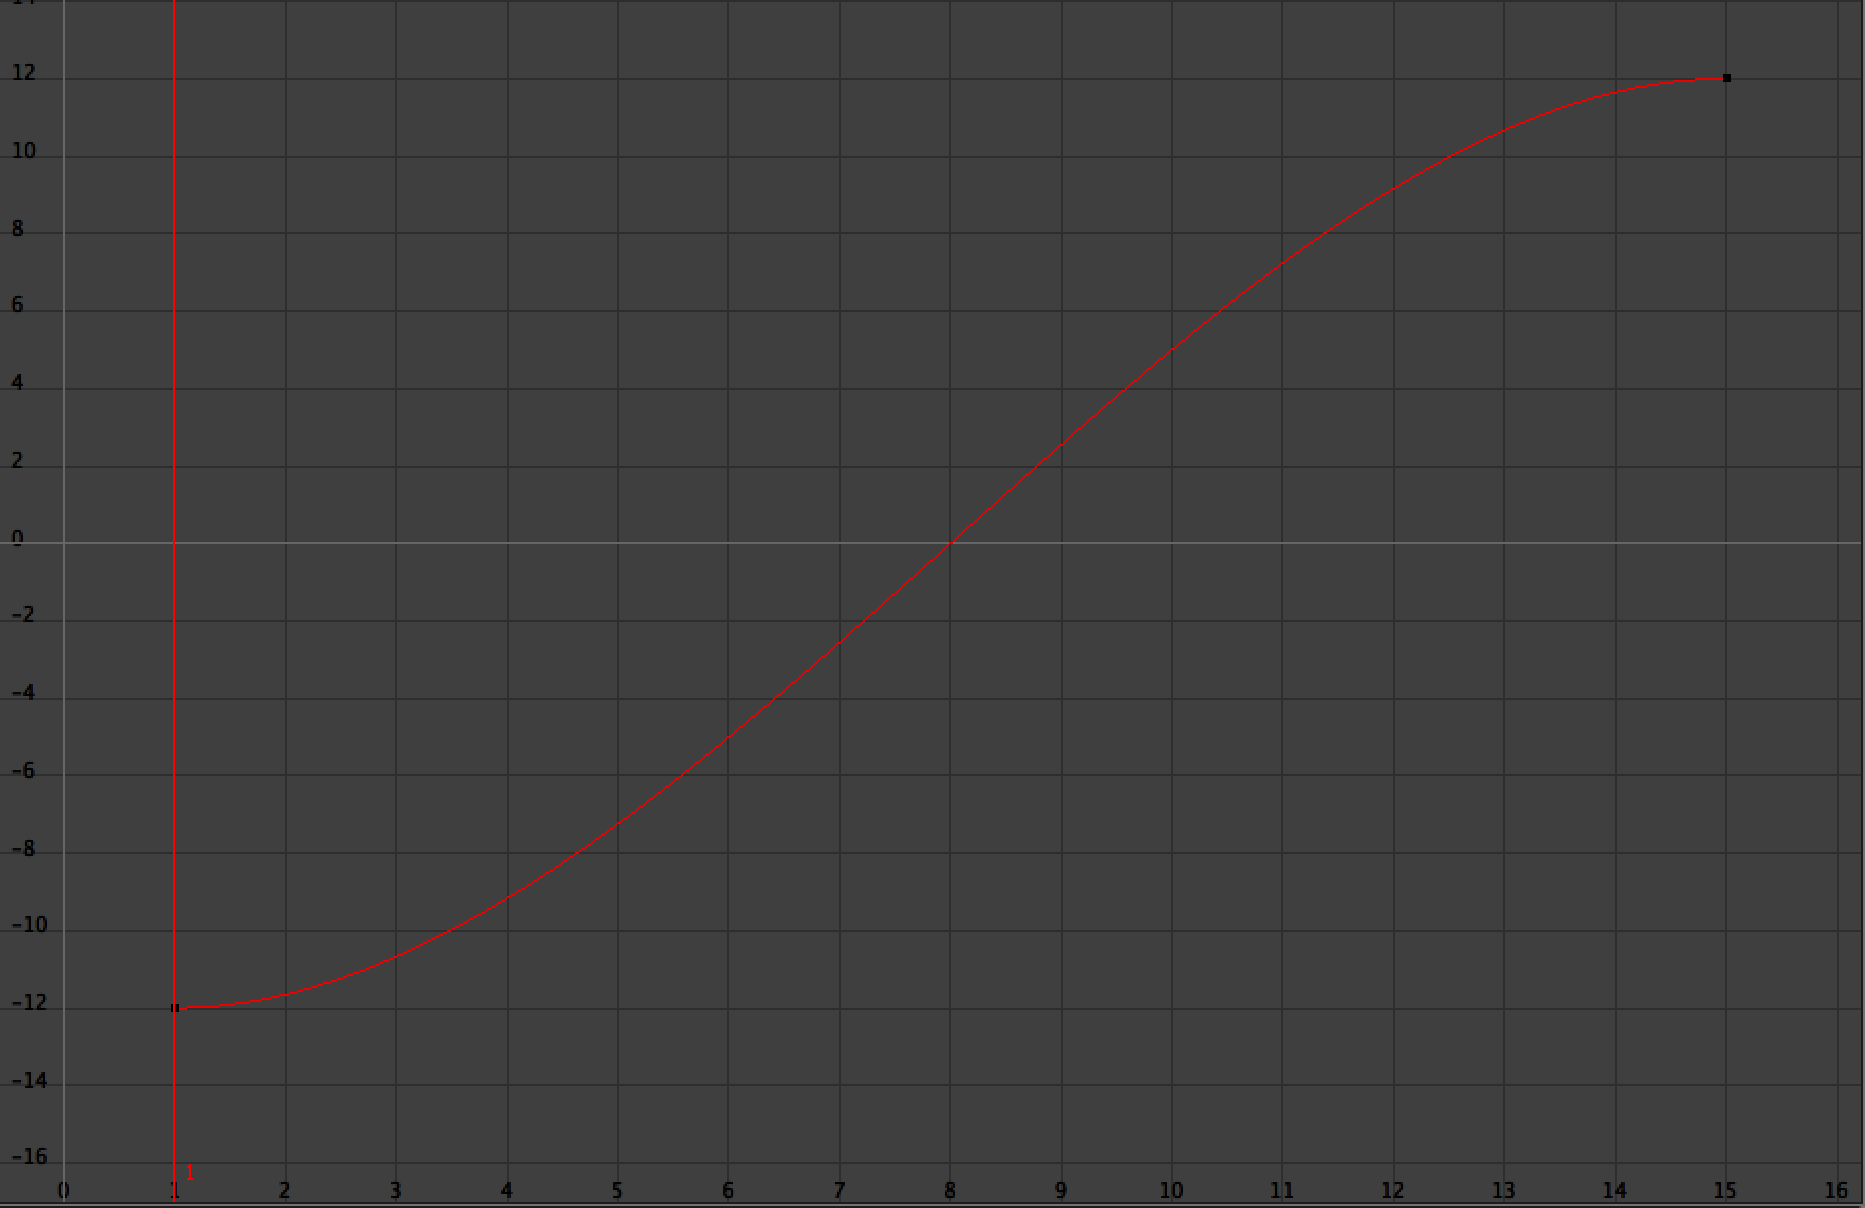 Click on the image to view full screen
Ease In Only
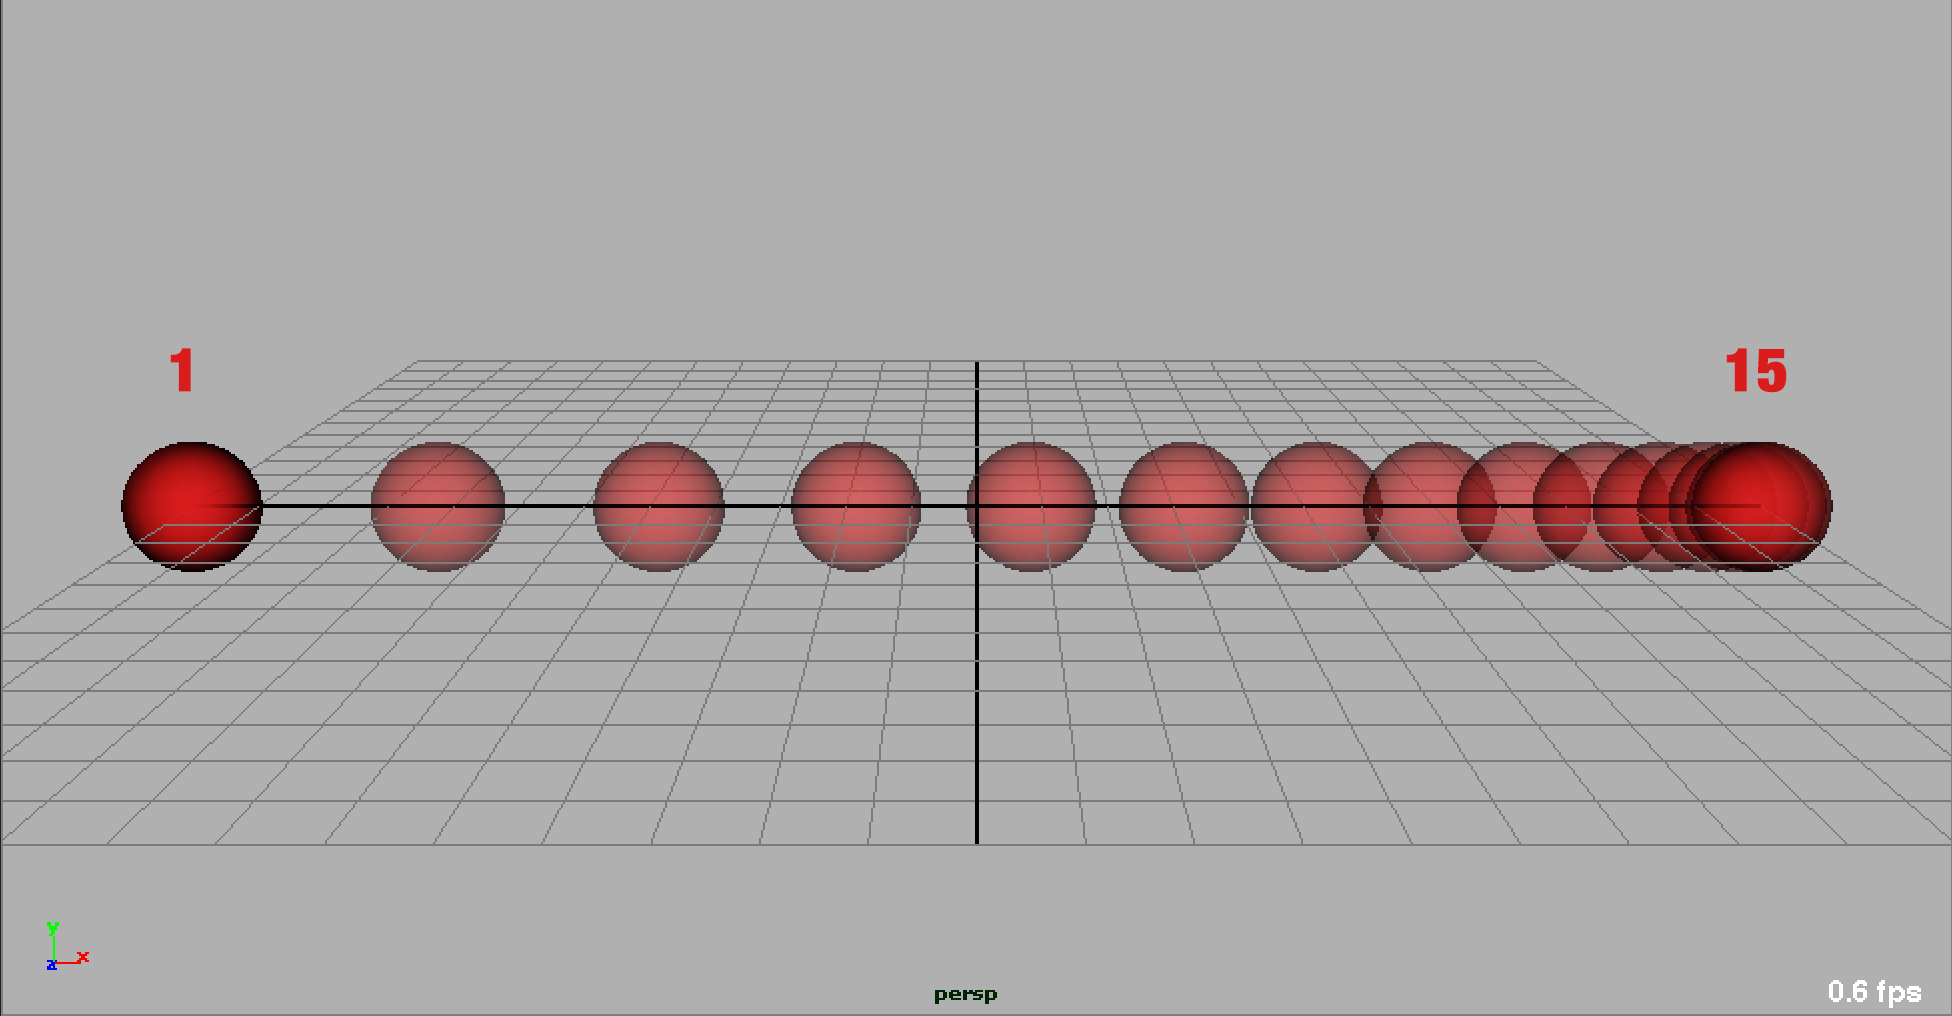 Click on the image to view full screen
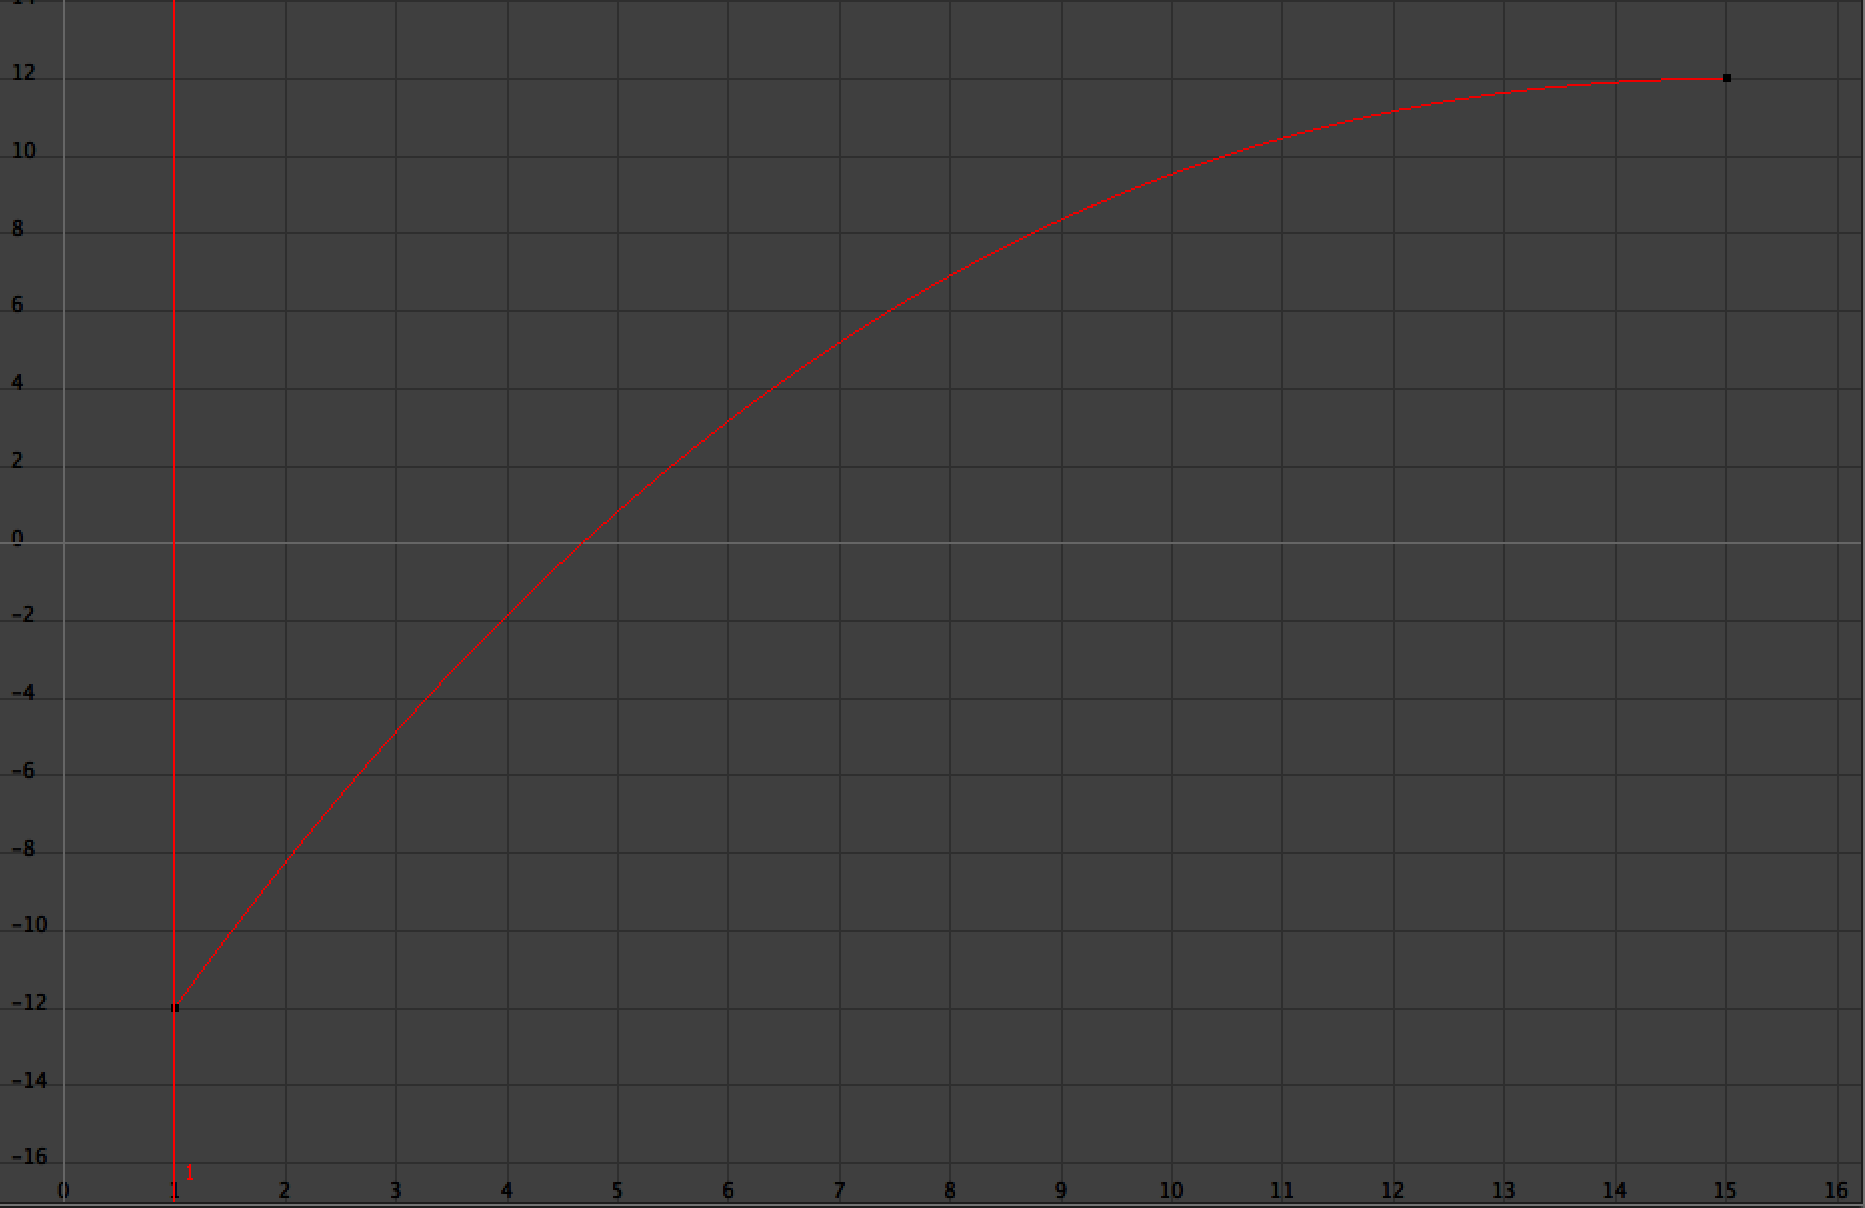 Click on the image to view full screen
So why are we addressing this principle again?
I am glad you asked. You see when we covered this principle we were simply looking at the motion on a single object in a single direction. Now we will be using it to ensure that all of the motion of our character is fluid where it should be. You will ABSOLUTELY HAVE TO CONSIDER this principle around EVERY KEYFRAME for EVERY JOINT and CONTROL you animate. Notice I said consider rather than actually implement. There are going to be plenty of keys in your scene were you don't want any easing at all. As the foot hits the ground is one example. Another example could be as the characters hand bounces off his hip. There are other areas as well where adding easing may make your animation feel muddy. You must use your judgement as an artist to decide what you want the motion to look like and go with that.
Wait! If its so important to consider, why are there so many exceptions?
Wow, you have really good questions. Remember I said you have to consider easing motion throughout your animation. The fact is that in animation it is way easier technically and conceptually to animate linearly. It requires effort to do proper easing. Where there is effort there is the requirement for you to show up and do something mentally, physically and emotionally.
The questions you should ask yourself as you work through splining and polishing should start with:
How should I ease this key?If the answer is yes than start easing it the way you need to. If the answer is no then you don't ease it. The point is you start with the assumtion that easing is required and then deviate rather than assuming none is required and only adding here and there. One approach is lazy and the other is right. Don't be lazy!
Overshoots
Overshooting is part of the art of imperfection that creates realism and interest. This is especially important for quick abrupt motion as it has to do with momentum.
Personal ExcerciseStick your hand up and out to the side. Very quickly move it to the side about a foot and try to stop your hand instantly. Do this a few times and observe your hand as you attempt to stop it.What you should observe is that you cannot stop your hand perfectly and that your hand will pass your stopping point and bounce back to where you are intending to stop it. This passing of the spot and bouncing back is overshoot. The faster and farther you move your hand the more overshoot will happen.
While overshooting is most apparent with quick motion it still exists with slower more casual motion though obvioulsy much less. This overshooting happens because the momentum of the moving object requires a force to stop it. In the case of your arm it will be your arm muscles that will have to flex to freeze your arm motion. You could train your muscles to more quickly freeze your motion without overshot. This is something that dancers work very hard to perfect throughout their entire body.
Some ScienceThe speed of an object is only one part of the momentum that will cause overshot. Momentum is calculated as the product of an objects velocity and its mass.
p(momentum) = m(mass) * v(Velocity)Velocity is effectively its speed and mass is effectively its size and weight. A very large object moving relatively quickly will have a lot of momentum and therefore will require more force to stop it. A very small object moving very quickly could also have a lot of momentum and will also therefore require more force to stop it.
A big part of overshot is to think of how you can use the principles of overlapping action and follow-through to help emphasize or even exaggerate the overshot. Overshot should be applied not only to the main object of attention but as it ripples throughout the rest of the body with diminishing affect. Let's watch a clip from Megamind that very accurately represents this concept in action. See if you can spot it.
Linear from Brad Swardson on Vimeo.
Moving Hold (Ambient Motion)
There is a concept in computer graphics (and elsewhere actually) that as human characters get closer to looking real the more our brains require absolute realism. Otherwise there is a subtle creepiness that becomes extremely distracting. The less a character looks human the more forgiving our sub contious is of the qwirks. This is part of why the best CG characters to date are still non-human (golumn, etc.), but we are getting very close. However, this lesson isn't about the uncanny valley, but there is a related aspect that can be just as distracting to our subcontious.
When animated characters are still or otherwise not moving it would make sense just to keep them perfectly still. After all, it is easy to do that (cheep) and that's how it is done with 2D hand drawn animation. Unfortunately with CG a perfectly still character takes on a frozen or dead feel which is not good. Thus we have the need to produce the seemingly contradictory yet appropriate moving hold. This concept is also called ambient motion because the motion shouldn't really express anything in particular, nor should it really trigger any attention, but rather be there just enough to allow our subconcious to be okay with the stillness.
The tricky part with ambient motion is having enough to be barely noticeable, but not too much as to be strange or distracting. One of the best things to approach first is natural motion that you would see in a living creature such as breathing, blinking, eye motion, posture shifting, wind blowing clothes or hair, etc).
A Note on Eyes!While we haven't done any eye animation yet, the most important part of facial animation is the eyes. The eyes must get the most attention that they feel alive with their motion, focus, gaze and blink. Dead eyes will kill a character more than any other ommision.It is important to make sure that your ambient motion (moving hold) should not just be moving things randomly. A character sitting on a bench waiting for the bus likely should just have a randomly swaying arm or head. Likewise just having some random motion of the head or body back and forth can really throw off your characters balance and weight.
Just like everything else you must do it on purpose and with attention to detail. The biggest thing to remember with moving hold is that it is just enough motion to prevent frozen death, but not so much that it becomes distracting.
Assignment
Using this new information about motion around balance it is time to start splining and polishing your side-step blocking animation. Please save out a playblast of your animation from Maya.
If you have to export .avi playblast from maya then Follow these tutorials to convert to mp4 for submission.
Submit your MP4 file to Assignment 2 on UNM Canvas before midnight next Sunday.
-
Class Material
Read and watch class materials for this module
Resources
Download and Install AnimSchool Malcolm 2.0 Rig & Picker ToolAlternatively you can use the simpler Bonny Rig provided to you here. Give it a try if Malcolms features are proving to be to much to work through for this exercise. Download Bonny Rig
