Module 6 - Fluid Motion (Week 1) - Planning
Fluid Motion Overview
Up until this point our challenges have been fairly straight forward. The thought behind doing a side-step pretty much consists of deciding whether you will step to the right or left. The box lift shot probably required a bit more thought than the side-step but not a ton. As such the benefits of thought really haven't been exercised fully... Until now!
As animators you are going to find yourself having to create a believable performance within any number of unbelievable cercumstances. Your character could have 3 legs, could be 100ft tall, could be able to fly, could weigh 600 pounds while riding a unicycle on a high wire over a boiling lake of lava that is spewing from the mouth of a dragon. You laugh, but it could happen. However, even more believable shots can and will require a great deal of thought prior to any pencils hit a paper or fingers on the mouse.
In our case you will be once again animating the Malcolm Rig, but this time he/she will be navigating their way through a simple obstacle course. Some aspects of that obstacle course will be designed by you and the way he navigates within it will be entirely up to you. That is a lot of freedom and power right there :) BUT! With great power comes great responsibility. Also I haven't exactly checked but I think it is a safe bet to assume that none of us have a ready made obstacle course that matches our scene for us to record a single shot reference video to capture every action and subsequently the full timing. If you do, well... I guess you don't need my help. For the rest of us we must rely on something else to get us through this referential generation mess. You guessed it. The power of THOUGHT!!!
The first thing to think about is what will your obstacle course look like. Then think about what kind of interesting things your character can do as they navigate that obstacle course. As you prepare yourself for planning and refernece you should also think about different ways you can attain different reference or ideas for this project. Talk to your friends, watch some youtube videos (on this subject preferably... cat videos likely wont help you here. Unless of course you can find a cat going through an obstacle course. Hey its the internet it has to exist right!). Anyway the point of this whole exercise is to ensure that you have laid a solid foundation of thought and idea generation before you even start sketching out ideas. Thought doesn't stop here though. Remember to keep thinking as you continue.
Week 1
The first week of this 4 part project is all about planning. You might be tempted to just blow past this, but I promise you will regret it if you do. You've been warned :)
After thinking you may have expected that we would be moving right into capturing video reference. And you would be WRONG!!!
Your planning stage should move from thought to the process of putting your thoughts on paper in the form of quick thumbnails and sketches to help break down your planning process so you know what reference video you either need to find or create yourself.
Path of Action
Draw out a simple sketch of your obstacle course layout and decide what path your character is going to follow through it. Also make notes about different main events on that path of action that will describe those actions. One example is that your character will be hopping from one pillar to the next from their left foot to their right foot. Then they will wobble a bit before hopping to the platform. They will make it, but will land a bit unbalanced and almost fall before catching themself and stepping forward. Making these notes on the path of action will give you a more firm idea to start with as you move into reference video later
Planning Thumbnails
Planning thumbnails consist of quick sketches that show different poses you would like your character to achieve at different points in the animation. You should take the notes and queues from your path of action drawing as guides to determine some specific areas that could use some more planning. The amount of planning thumbnails you generate really depends on how many you think you need to fully get your plan in place before moving forward.
Video Reference
Video reference is going to be a smidge more abstact than it has in the past because there isn't going to be a very clear and easy way to capture the whole shot at once. Using your path of action, notes and planning thumbs you are going to either shoot or gather reference video that will be pieced together to form your full set of reference footage to inform your final shot timing notes and reference thumbnails.
Using the notes we outlined in the path of action section above we have an idea of what we need to shoot. You probably don't have pillars you can jump to, but you can imagine (or draw with sidewalk chalk) the pillars on the concrete sidewalk and mimic the hop with left foot, imbalance, hop with right foot, almost fall, step foward. Record yourself doing, or find video reference online of someone doing, these actions. Having multiple clips is going to mean that you are going to have offsets of timing notes from each that have to be recompiled into a single timed stream of keys. This will be handled in the next stage of planning.
Reference Thumbnails and Timing Notes
Using the planning thumbs, path of action and video reference you have captured you are now going to generate your offical reference thumbnails and timing notes that will dictate what main keys need to be set during the blocking phase. The challenge here is going to be taking disperate pieces of reference and creating a single cohesive set of instructions that you will go by for animation.
Let's say you have 2 clips (one that you shot and one that you found online) that make up the pole hoping (youtube video) and an almost fall followed by single step to catch balance (your video). Both videos are going to start on frame 1 and go to a completion frame. Analyzing the clips individually you note the following key events
Clip 1 (Youtube) - 60 frames total
- Frame 1 - The first hop starts
- Frame 18 - right foot lands on second pole
- Frame 18 through 38 - character is imbalanced
- Frame 38 - second hop starts
- Frame 60 - left foot lands on platform
Clip 2 (Self Shot) - 90 frames total
- Frame 1 - Starting on left foot, right foot slips back and begins to lean back
- Frame 25 - right foot plants on ledge and character is leaning back more
- Frame 25 through 50 - various imbalance poses
- Frame 56 - right foot plants forward and steadies balance
- Frame 68 - second step forward with left foot planted and character is fully upright
- Frame 80 - right foot plants for third step as character approaches wall
- Frame 90 - left foot plants next to right foot as character stops to begin to climb wall
These 2 clips have some key events, but their frame numbers need to change if they are to make sense when strung together for blocking later. What you do is add the end frame number from the previous clip to the start of the second clip and go from there. Sometimes the very last frame of the first clip may be the exact same pose as the first frame of the second clip. If that is the case then combine them. What you will end up with is something like this:
Clip 1 (Youtube) - 60 frames total
- Frame 1 - The first hop starts
- Frame 18 - right foot lands on second pole
- Frame 18 through 38 - character is imbalanced
- Frame 38 - second hop starts
- Frame 60 - left foot lands on platform
Clip 2 (Self Shot) - 90 frames total
- Frame 60 - Starting on left foot, right foot slips back and begins to lean back
- Frame (25 + 60) 85 - right foot plants on ledge and character is leaning back more
- Frame (25 + 60) 85 through (50 + 60) 110 - various imbalance poses
- Frame (56 + 60) 116 - right foot plants forward and steadies balance
- Frame (68 + 60) 128 - second step forward with left foot planted and character is fully upright
- Frame (80 + 60) 140 - right foot plants for third step as character approaches wall
- Frame (90 + 60) 150 - left foot plants next to right foot as character stops to begin to climb wall
And when combined becomes:
- Frame 1 - The first hop starts
- Frame 18 - right foot lands on second pole
- Frame 18 through 38 - character is imbalanced
- Frame 38 - second hop starts
- Frame 60 - left foot lands on platform, right foot slips back and begins to lean back
- Frame 85 - right foot plants on ledge and character is leaning back more
- Frame 85 through 110 - various imbalance poses
- Frame 116 - right foot plants forward and steadies balance
- Frame 128 - second step forward with left foot planted and character is fully upright
- Frame 140 - right foot plants for third step as character approaches wall
- Frame 150 - left foot plants next to right foot as character stops to begin to climb wall
These reference notes will allow you to then lay out all of your main thumbnails of the poses for each of those key events that will cohesively give you all of the planning you need to move into blocking.
Camera Animation
We are going to be addressing camera animation throughout this assignment, but to start the process we are going to look at a items of consideration to get a good solid start for our camera motion prior to even blocking out the full shot.
Camera Movement
Probably the single biggest problem I see in student animation projects is how the camera moves. Animating a camera in Maya is exactly the same as animating anything else. You set the timeslider to the frame of choice. Select the camera object. Set a key. This is not difficult, but just as we have to painstakingly animate our characters to move with the correct timing, weight, balance, etc. we have to do the same for our camera. We (as viewers) expect the camera to move believably even more so than our characters. Not only do you have to consider the physical limitations of a cameras ability to move you also have to look at how camera work is done in real-life, with real cameras. There are technical and artistic methods to consider and the best way to learn this is to study cinematography techniques. This is not a class on this, but taking some time to reference these techniques will go A LONG WAY to creating better shots. Watch the video below to get a decent introduction to a lot of the techniques of camera work in real life.
Filmmaking TechniquesAnimating in Maya
Before you animate your camera you are going to need some extremely rough blocked motion of your character to ensure that the camera frames the character properly. Set a few keys on the main transform control (tear drop curve around the feet of the rig) of them doing the various hops, jumps, climbs and final hero pose (or whatever your planned). Make sure this matches your timing guidelines you produced in the previous planning step or your work will be for nothing.
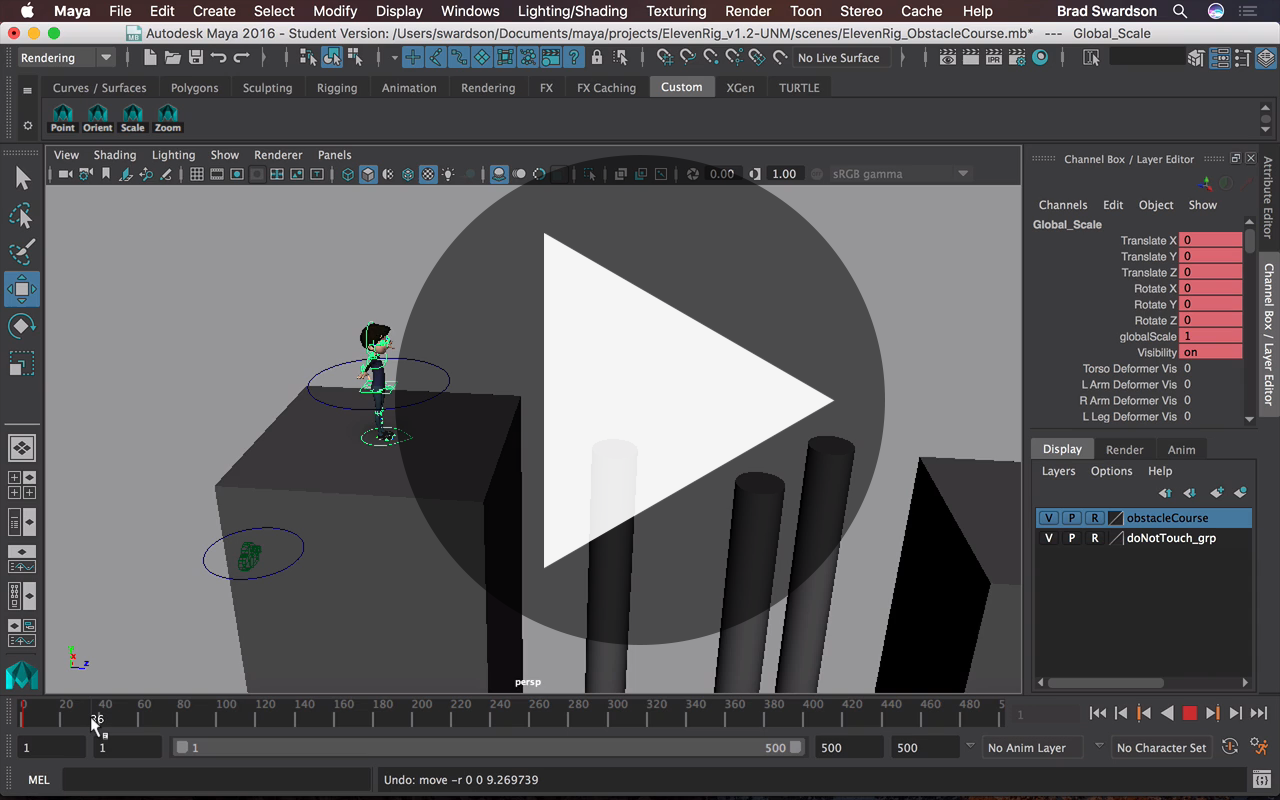
The camera rig in your maya scene has a few concentric circles. Move the large circle to the center(ish) of your character. Then select the smaller ring and move the camera out so that it frames your character in a wide shot with good head and feet room for action. You will then animate the various rings to track the character, pan and tilt around as he moves through the obstacle course to keep him in frame.
Complete your first splined camera animation to the rough animated timing and get it as polished as you can. Once we get into blocking, splining and final polish some tweaks will need to be made to the camera, but you want the camera as an overall control for the shot to ensure your further steps in the animation workflow have good bounds.
Assignment
For this weeks assignment you will need to complete all of the planning steps outlined on this page and will include the following submitted to UNM Canvas by midnight next Sunday.
- mp4 Playblast of your camera animation with rough timing
-
Class Material
Read and watch class materials for this module