Module 3 - Surfacing
Surfacing Introduction
What is surfacing?
Surfacing, also known as shading and texturing, is the process of providing further detail to your model primarily focused on the look of its surface. This includes color and texture as well as how the surface reflects light or doesn't.
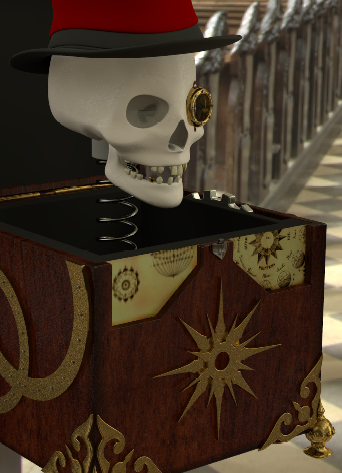
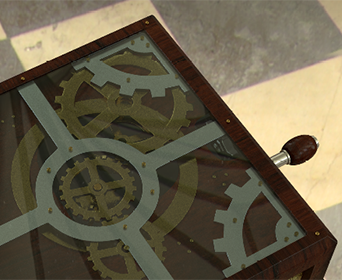
In your previous assignment you created the 3D model for your jack in the box. While I am hoping you created a wealth of detail for your model it should still be very flat, gray and otherwise uninteresting. This module will cover different techniques and processes for creating and adjusting the various objects materials (shaders and textures) needed to further refine your jack in the box and prepare it for rigging, animation and so on.
Renderers
Even though we aren't explicitly talking about the rendering process yet there are some inherent connections between surfacing and rendering as well as lighting that you will want to keep in mind. Different renderers will have special materials or shaders that are designed to work with it. Maya's default shaders (Lambert, Blinn, Phong, etc) all typical work roughly the same in any renderer that has a plugin for Maya. This includes Pixar's Renderman, V-Ray, Arnold, and so on. However, just because they are supported doesn't mean they are optimal nor does it mean they will look exactly the same way in every renderer.
When you approach a project and you are working in the surfacing process knowing your renderers advantages and limitations will help you greatly. We are going to be using Arnold for our project so we can keep that in mind and use Arnold, and some specific Arnold shaders, as our renderer for testing to ensure our final product will work as planned when we get there.
One of the big things to consider with surfacing is the rendering engine. Since we are using Arnold we can take advantage of physical-based rendering models provided.
Here is a link to an overview of PBR (Physical Based Rendering) in Arnold for Maya.
Throughout this module wew will be exploring different ways to achieve the look we want for the surface of our jack in the box. Just like with your model you will be taking the instruction I have provided and will apply the techniques to fit the specific needs of your design and output. We will explore UV Mapping, Procedural Texturing, basic HDRI and more. Hold onto your socks ladies and gentleman. Things are about to get rowdy in here. :)
Assignment
To start out on our adventure in surfacing lets do some basic review and a deep dive with each of the following videos. If it has been a while since you last worked with surfacing in Maya. Or you had some difficulty with it when you first learned it I recommend you take a look at the original surfacing videos from the Introduction to Modeling and Post Production Course.
Remember! These videos are meant to be a guide to general ideas and topics that will assist you in your surfacing processes, not a step-by-step guide to the specifics you need. Learning how to work in production is all about learning how to problem solve.
Since we are using Arnold for our rendering in this project we can leverage specific shaders built to work well with Arnold. One specific shader we will be using is the aiStandardSurface shader. This shader is built for realistic rendering and to take full advantage of the Arnold rendering system. Even if you will be working with a more stylized or cartoony looking box you can and should still use this shader. Let's learn about this shader now.
Now for a few final tutorials covering different shading networks and the use of HDR in your render tests:
Deadlines
The surfacing module runs for 2 weeks. At the end of each week (Sunday night) you must post some work in progress images to the discussion board on UNM Canvas This will allow for your classmates to see how you are progressing and provide you with meaningful feedback and assistance. I recommend you do this more often than just at the end, but this is the minimum. At the end of our surfacing module you must hand in your final submission of your model.
| End of first week | WIP images to Discussion boards. |
| End of second week | WIP images to Discussion boards and final submission for assignment. |
Final Submission Guidelines
Produce at least 5 rendered images of your shaded model to showcase what it looks like from different angles and details.
These images should be rendered at least 1280x720 resolution and saved as (.png, or .jpg)
Finally submit the images to Assignment 2 on UNM Canvas
In a production environment you would be using this stage to show off your surfacing for approval before it moves down the pipeline so make sure you put some effort into making these images really look nice.
-
Class Materials
Review Surfacing tutorials, overview and assignment guidelines -
Discussions
Post work in progress images throughout 2 week module. Specifically at the end of each week.
UNM Canvas -
Quiz
Quiz 2 due at the end on UNM Canvas