Module 7 - Rendering
Rendering Overview
Rendering is the process where you finally take all of your hard work and patience and produce the final aspects of your shot. In this stage of the pipeline you will be applying all of the modeling, texturing, rigged animation, lighting and render settings to produce your final frames.
A formal definition of the rendering process from wikipedia
Rendering is the final process of creating the actual 2D image or animation from the prepared scene. This can be compared to taking a photo or filming the scene after the setup is finished in real life. Several different, and often specialized, rendering methods have been developed. These range from the distinctly non-realistic wireframe rendering through polygon-based rendering, to more advanced techniques such as: scanline rendering, ray tracing, or radiosity. Rendering may take from fractions of a second to days for a single image/frame. In general, different methods are better suited for either photo-realistic rendering, or real-time rendering.
Producing a final render is not hard at all. All you have to do is click the render button right?
Well... yes and a very big no. Rendering is not hard. The hard part is being as efficient as you can as well as producing all of the elements you need to produce the best final quality shot you can. Every shot and even different frames throughout the shot will come with their own challenges. To boil it down rendering is really all about finding the perfect blend between quality and efficiency.
We have all seen 3D images that we think just don't look good. Not that the model is bad, or the textures, or lighting, or composition, but the quality of the render just isn't good. Let's look at an example:
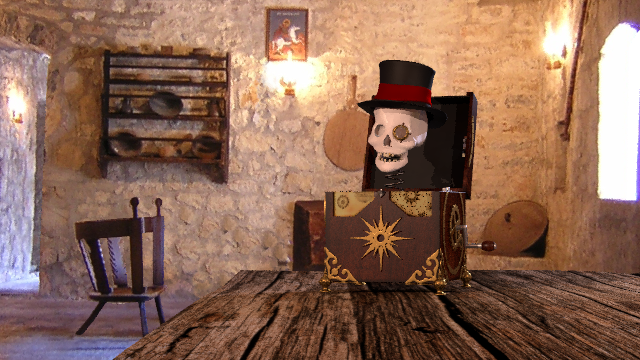

Do you see a difference? You might, but probably not from this far back. Let's zoom in on our jack to see what it looks like close up.


Now do you see a difference? Take a closer look around the rim of the hat, also look at the front textured panels. See it now? No, let's get even closer.


Take a look at the shadow under the hat, the edges around the top of the hat. Look at all of the diagonals in the scene. Look at the textured panels in the front. What you are seeing is what is known as aliasing. This concept is explained in the first video you will view below, however, one thing we can agree on is it definitely looks worse.
Here is the kicker. If we look only at image quality as our indicator for success we risk wasting a serious amount of time and are at even more risk of missing our deadline for the shot.
Here is why...
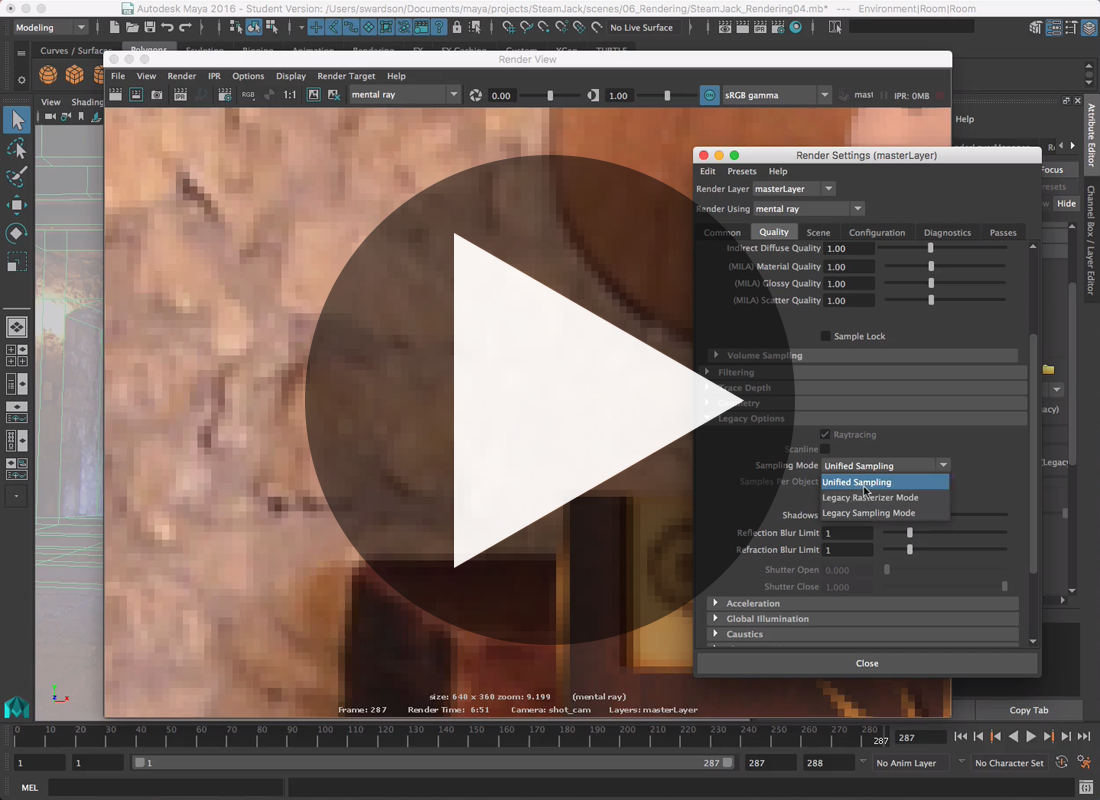
The image on the left has overall quality settings that are 10% of the one on the right. I would say that quality reduction is quite evident. However, the amount of time it took to render the image on the left was only 51 seconds to complete while the higher quality image on the right took 6 minutes and 24 seconds to complete. If we were only rendering a single image this is not a big deal at all. However, we aren't working on rendeirng just a single image. We are going to be rendering an entire sequence of images and in my case that will be 288 images for this single shot. Presuming our render times from frame-to-frame remain close to our tests above we can multiple our render time of our test frame with that of our total frames which will give us 4 hours to render on the lower quality settings and 30 hours on the higher quality. That is a pretty big difference and could mean meeting our deadline or not.
Now, our goal in visual effects is to create as believable and high quality images as we can. Why would we sacrifice quality for render time. The answer is we won't, but you have to be realistic which means planning for what your renders are going to take and also making sure that when we increase quality settings our final image actually looks better. The tests above are pretty blatant, but there are other settings that once at a certain level won't change your final image much if at all even though your render times will skyrocket. Some of the most common ones are anti-aliasing quality higher than 1, ray tracing and shadow bounces greater than 3 or 4, ray trace shadow rays greater than 50 and so on. These examples are not the rule, but they are a common place I have seen needless 'quality' enhancements.
One last note
Before we get into our assignment I also want to stress that the rendering process is by no means a set it up and let it go thing. It may seem like it and if we lived in a perfect world it would be, but we do not. The more time you spend ensuring that you test your renders and ensure that things are setup correctly (like render camera, name, frame range, etc.) before doing a batch render the more likelihood things will go well. Unfortunately though rendering often comes with a lot of maya crashes, dropped frames, strange anomalies, and other things unique to every situation. The only way to manage this is to make sure you give your self plenty of time for things to go wrong and manage the process by checking in on it throughout so you can stop the job, fix it, and restart it without loosing all of your time. Seriously though this is something I cannot stress enough. Plan, test, plan more, test lots more, kick off the batch render, track it and watch it. Doing these things will make this process as painless as it can be.
Alright, let's get into talking about the fun stuff like how to actually manage the quality of your renders, build render passes to prepare for compositing and more.
Assignment
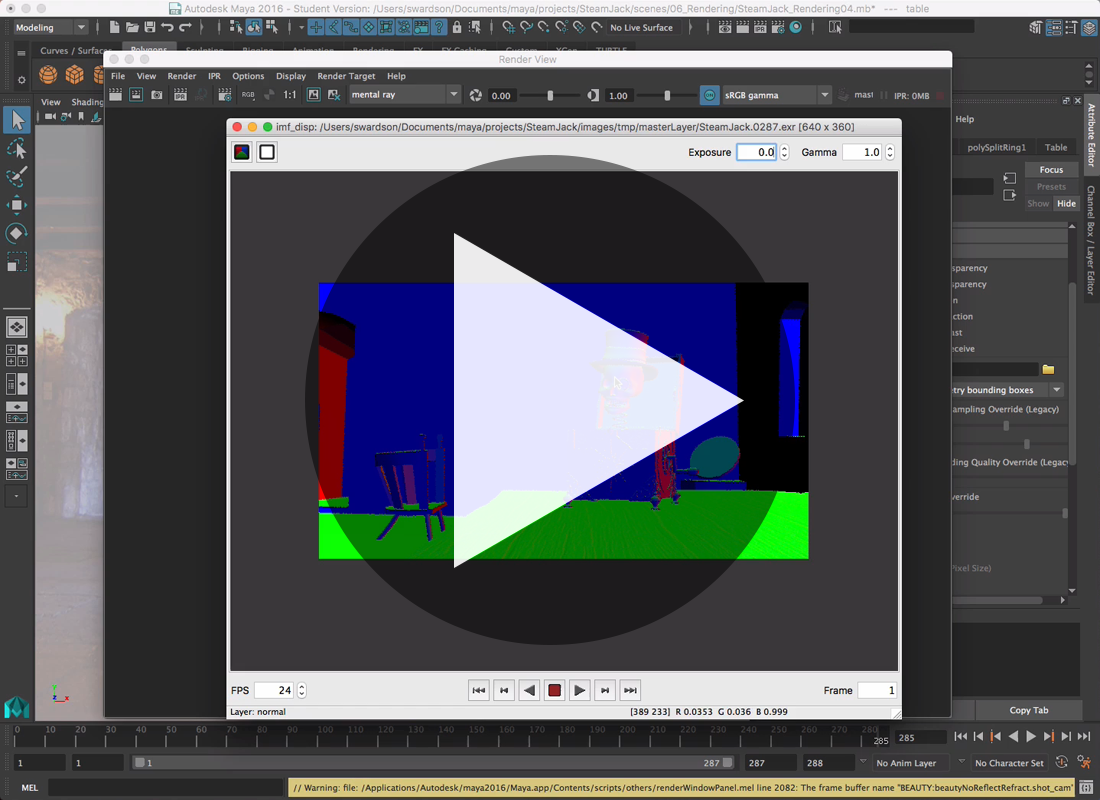
Your assignment this week is to produce the final renderered sequence of your animation in at least 1280x720 resolution at 72dpi and in the .exr format including render passes (diffuse, specular, indirect, depth, motion vector, etc.).
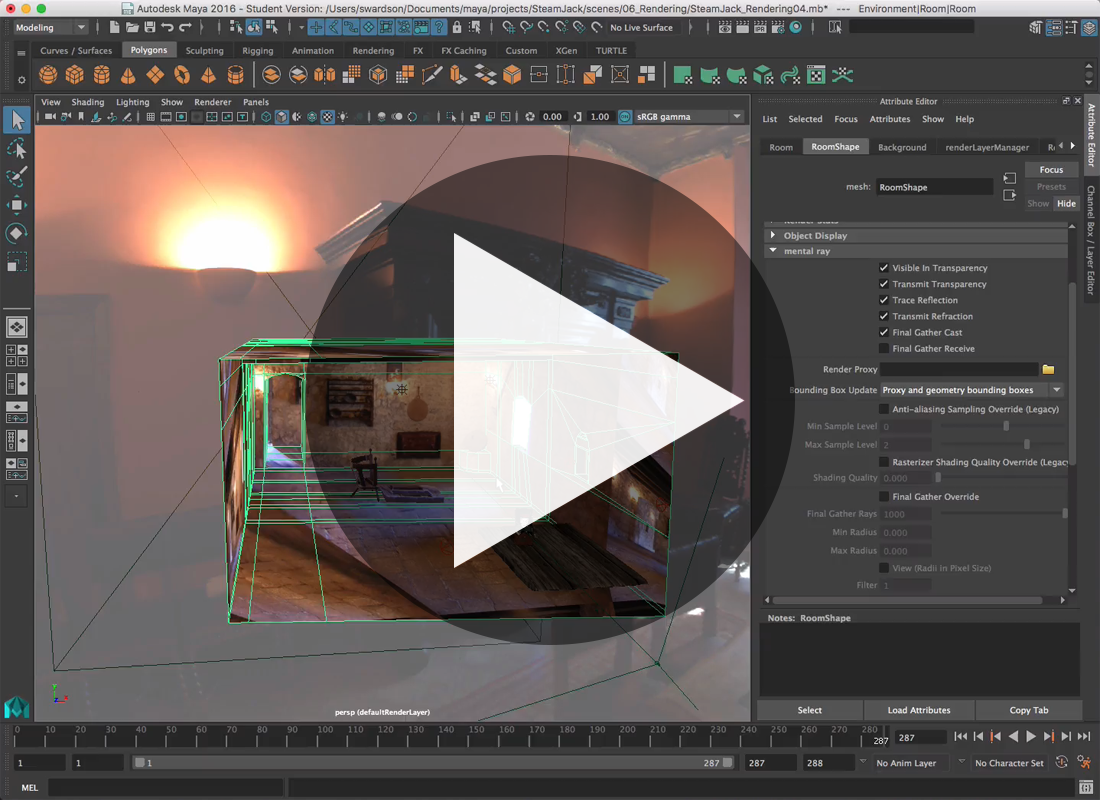
Here are some videos to help you with how to do this
Deadlines
The rendering module runs for 2 weeks. I want you to have plenty of time to produce your final renders. If you have read this module you should be afraid not to start early. At the end of the first week (Sunday night) you must post a few render tests to show us how its going to look when you are done.
| End of first week | Render test submitted to the discussion boards. |
| End of second week | Compressed movie file of compiled rendered frames. |
Final Submission Guidelines
Produce a full batch render of your animation for all frames. Ensure that it is at least 1280x720 resolution and in .exr format.
Compile your raw frame sequence into a movie file without any adjustments to anything.
Submit your movie file Assignment 6 on UNM Canvas
-
Class Materials
Review Rendering tutorials, overview and assignment guidelines. -
Discussions
Post work in progress renderings throughout the module, but specifically at the end.
UNM Canvas -
Quiz
Quiz 6 due at the end on UNM Canvas