Module 8 - Lighting
Lighting Overview
Much of what you need to know about light will come from studying the art of cinematography.
"Light is not simply that which allows us to see; it allows us to experience that which is intended."Sure, in its basic form, light allows things to be seen. However, as film-makers, game-makers and artists light is so much more powerful. What we choose to illuminate and almost as important what we choose not to illuminate serves a very powerful purpose to invoke the desired emotions of the piece whether in motion or still.
Lighting in film is not simply about illuminating the scene so that things can be visible. The intensity, color, direction, source and a combination of all of these helps to direct the viewers eye to what you want them to see and more importantly feel what you want them to feel.
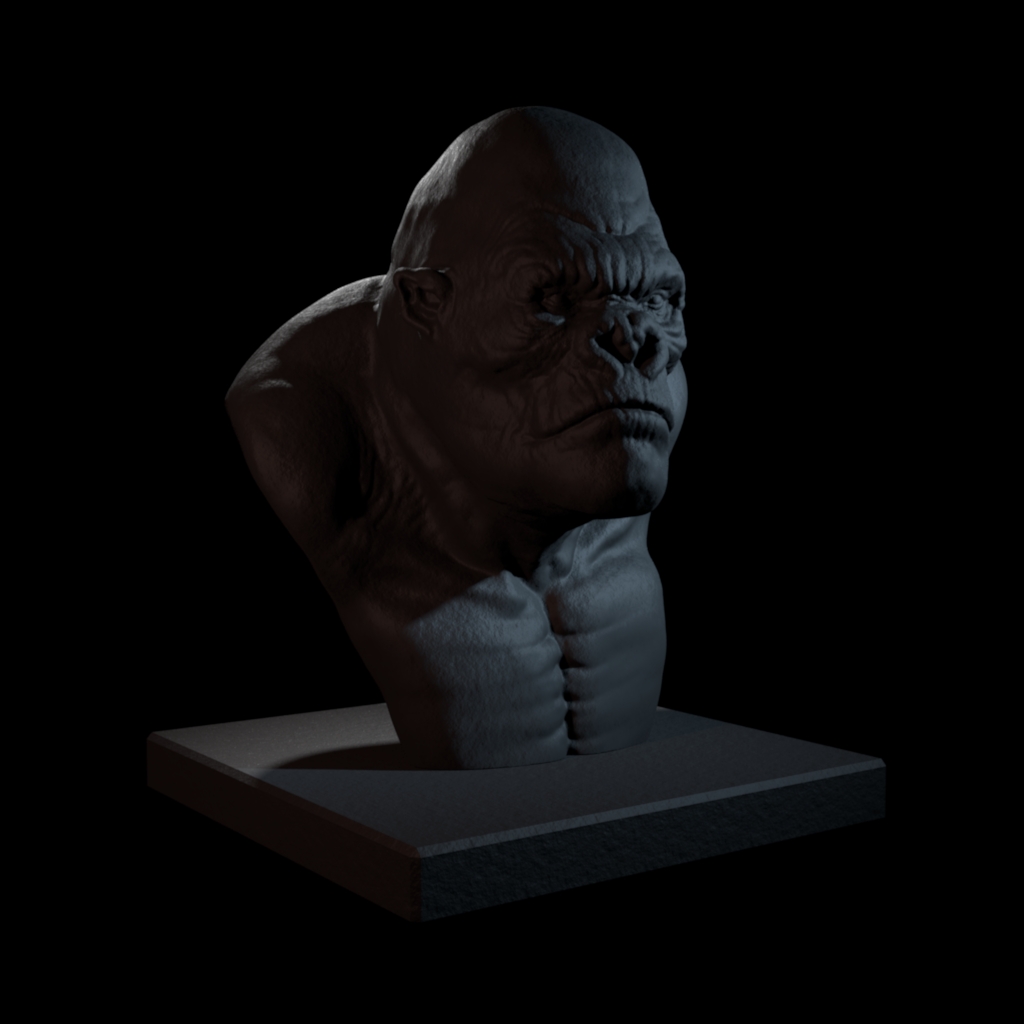
Cool color tones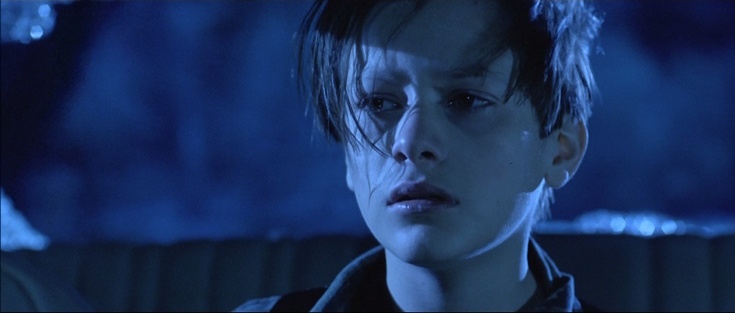

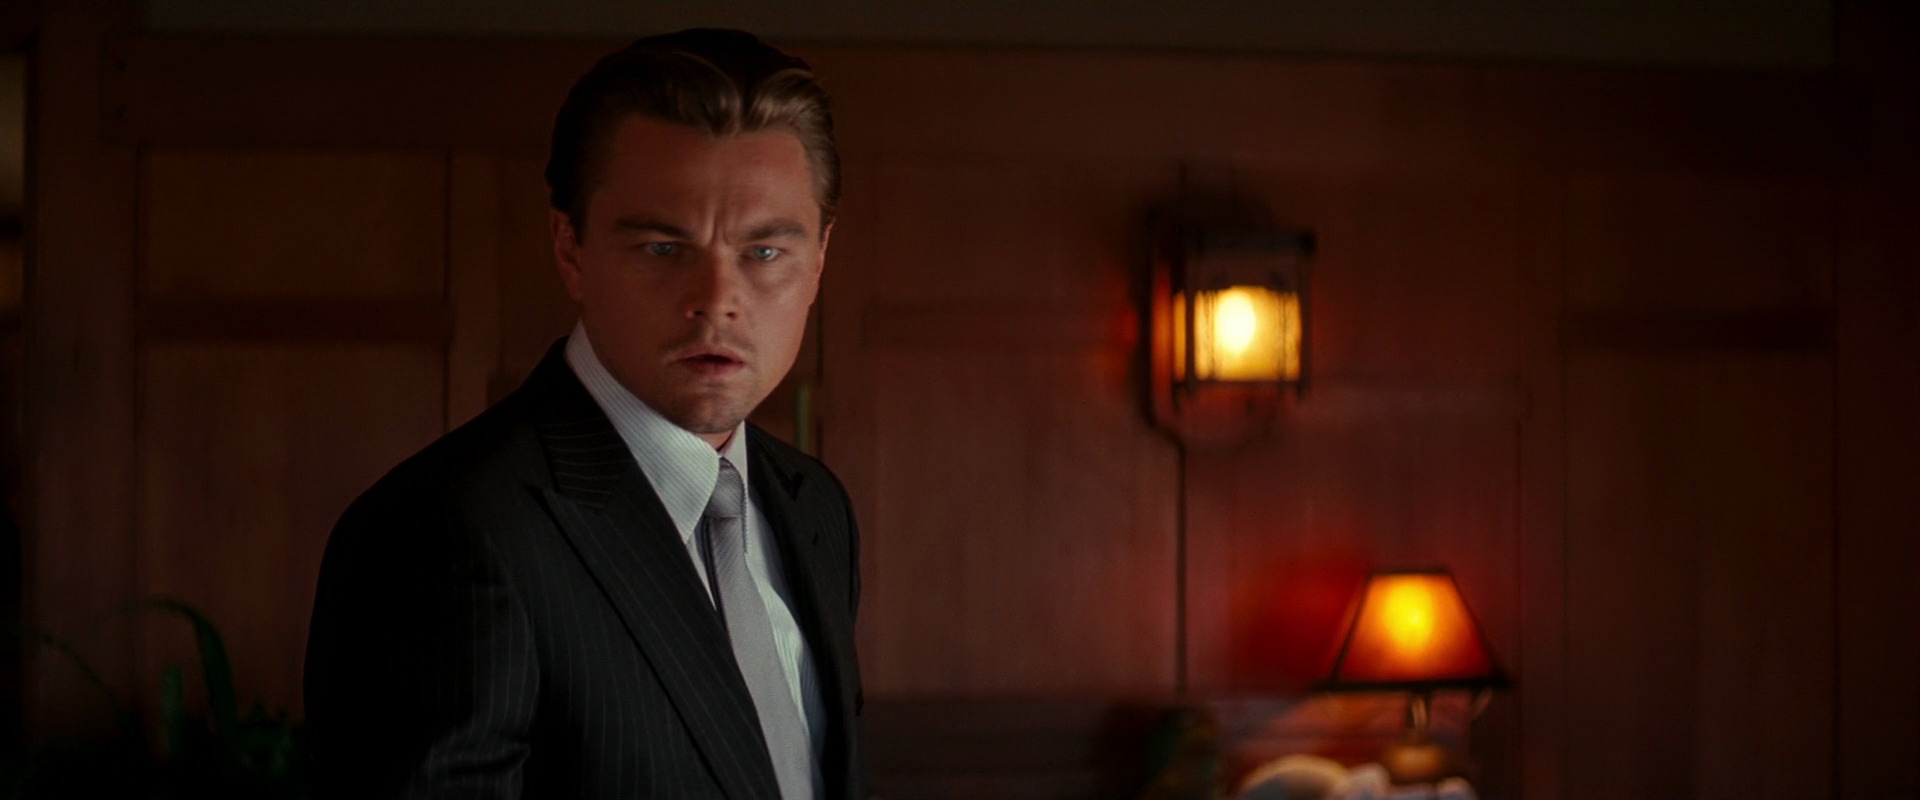

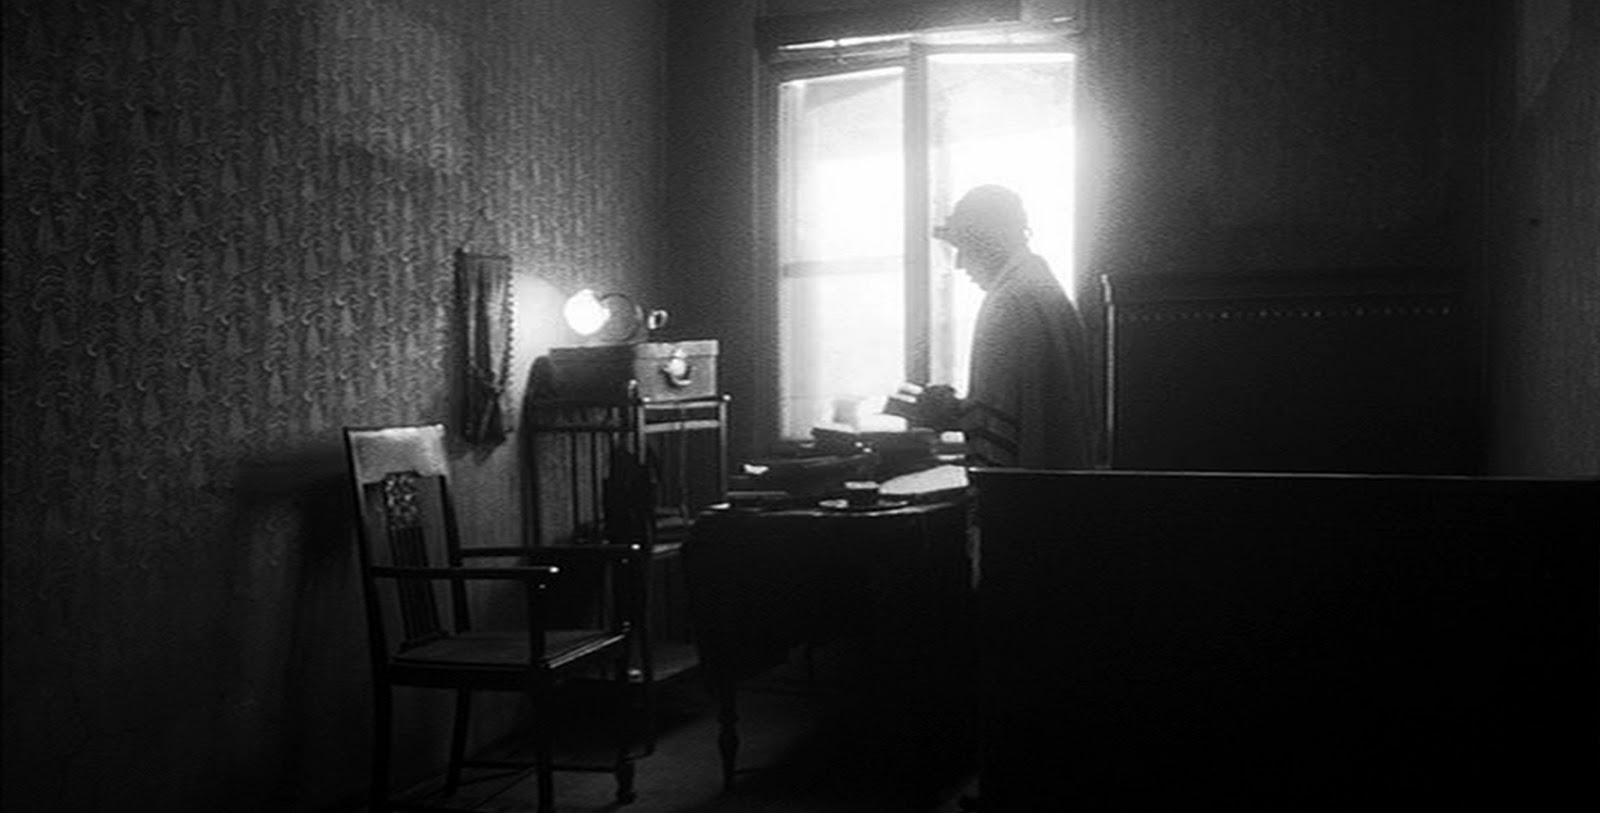
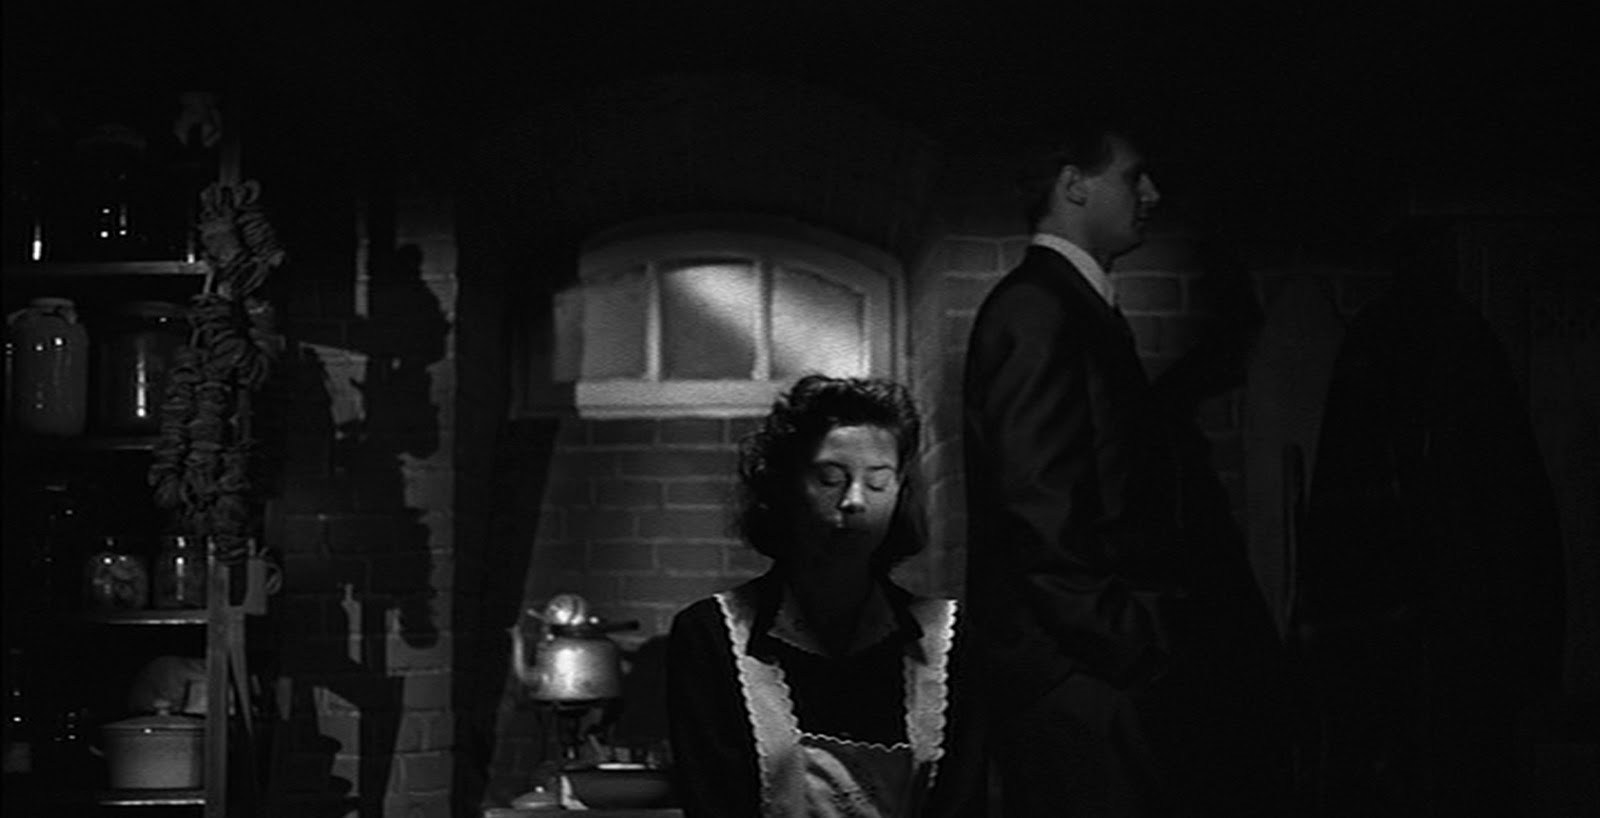
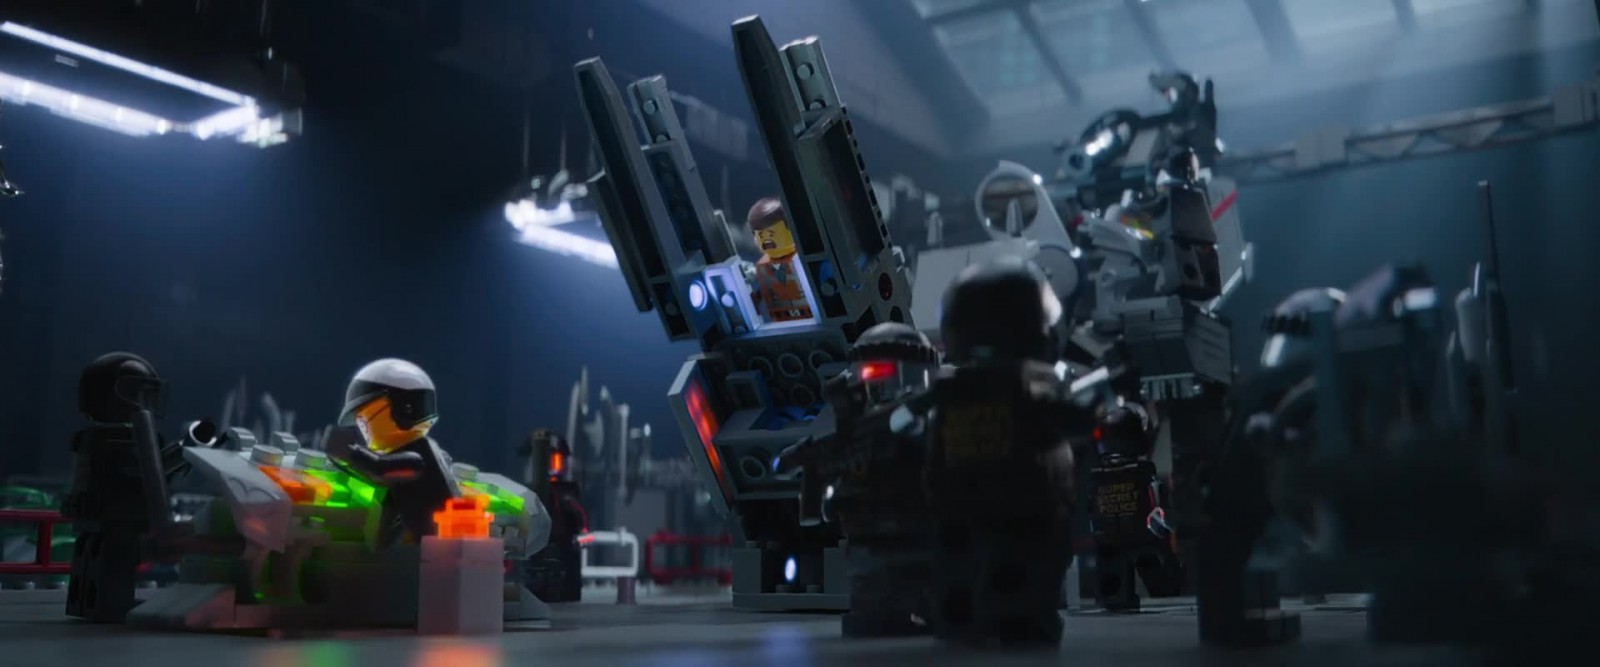
Here are some examples of dramatic lighting in film using different techniques
The Green Mile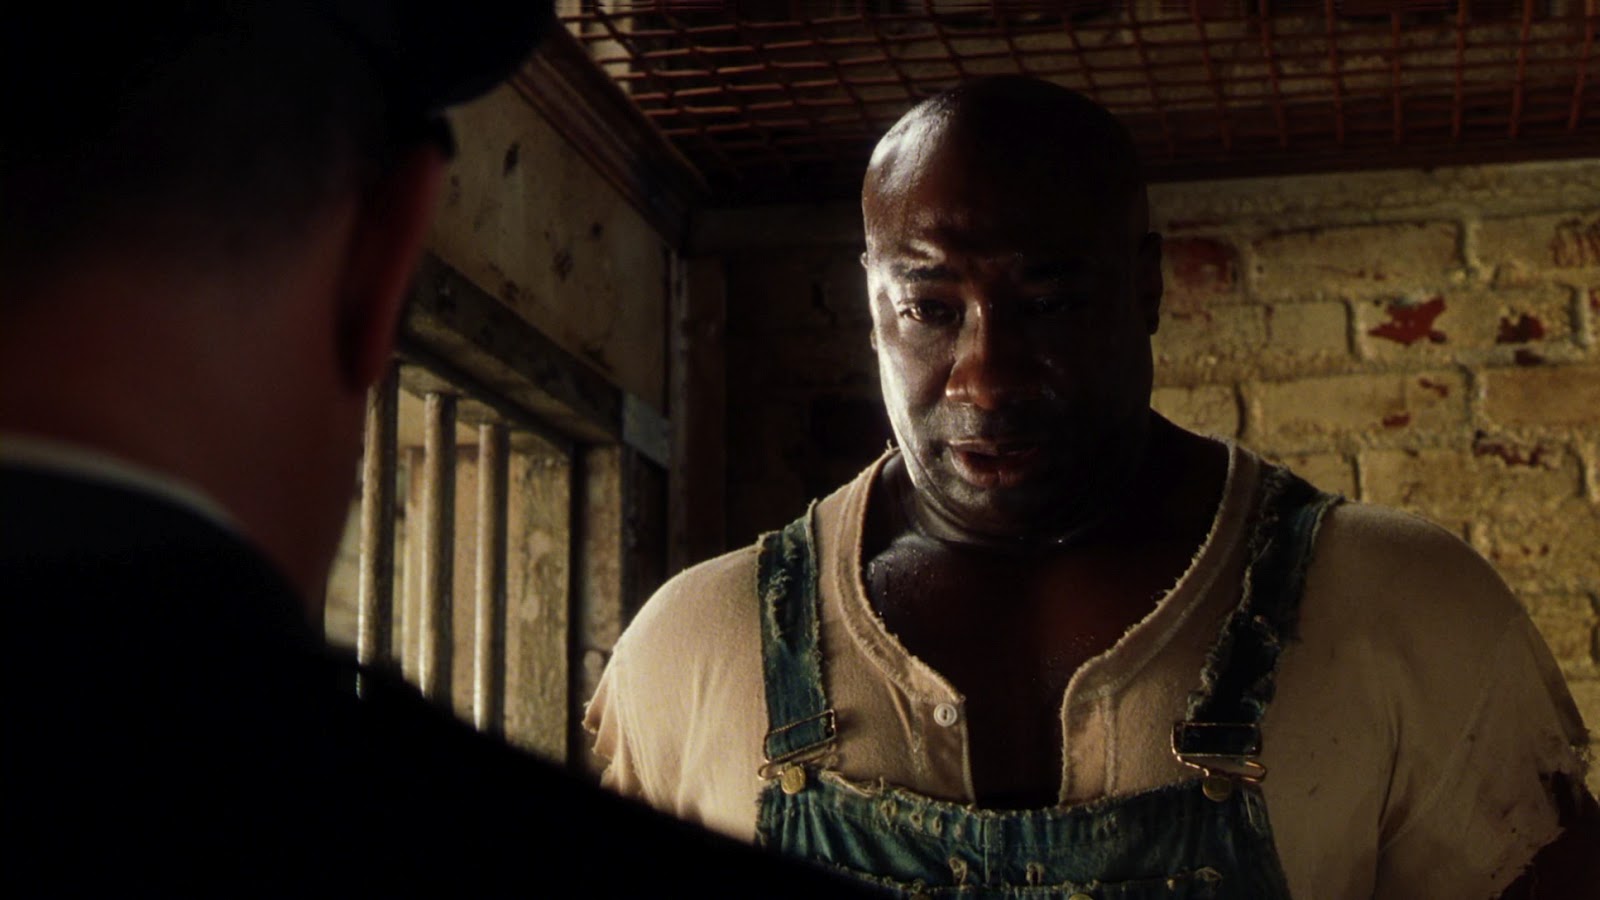 Shindlers List
 The Lego Movie
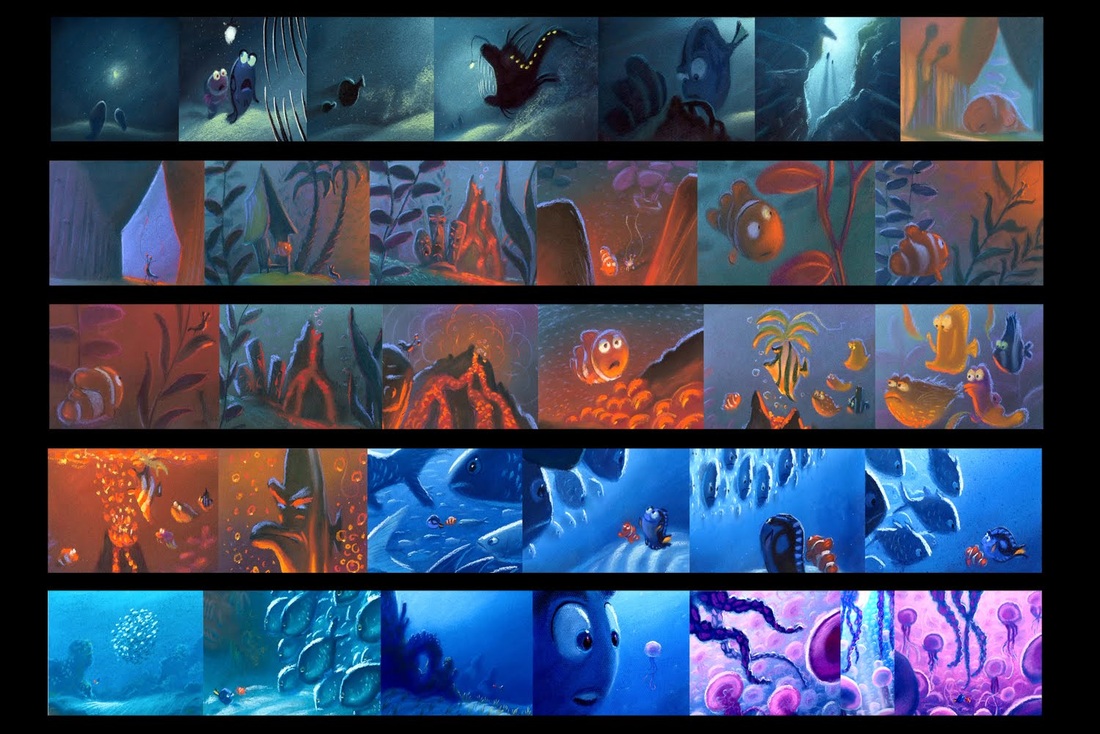
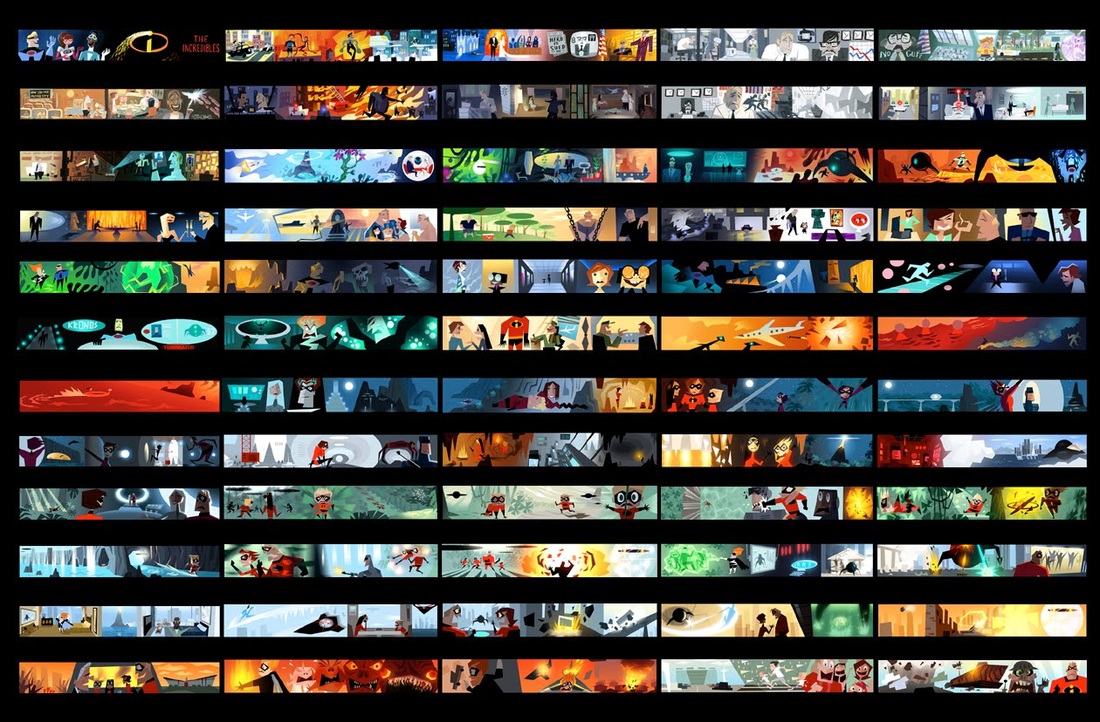
In fact entire movies folow a color and intensity plan to compliment the story arcs called a color script.
Epic Color Script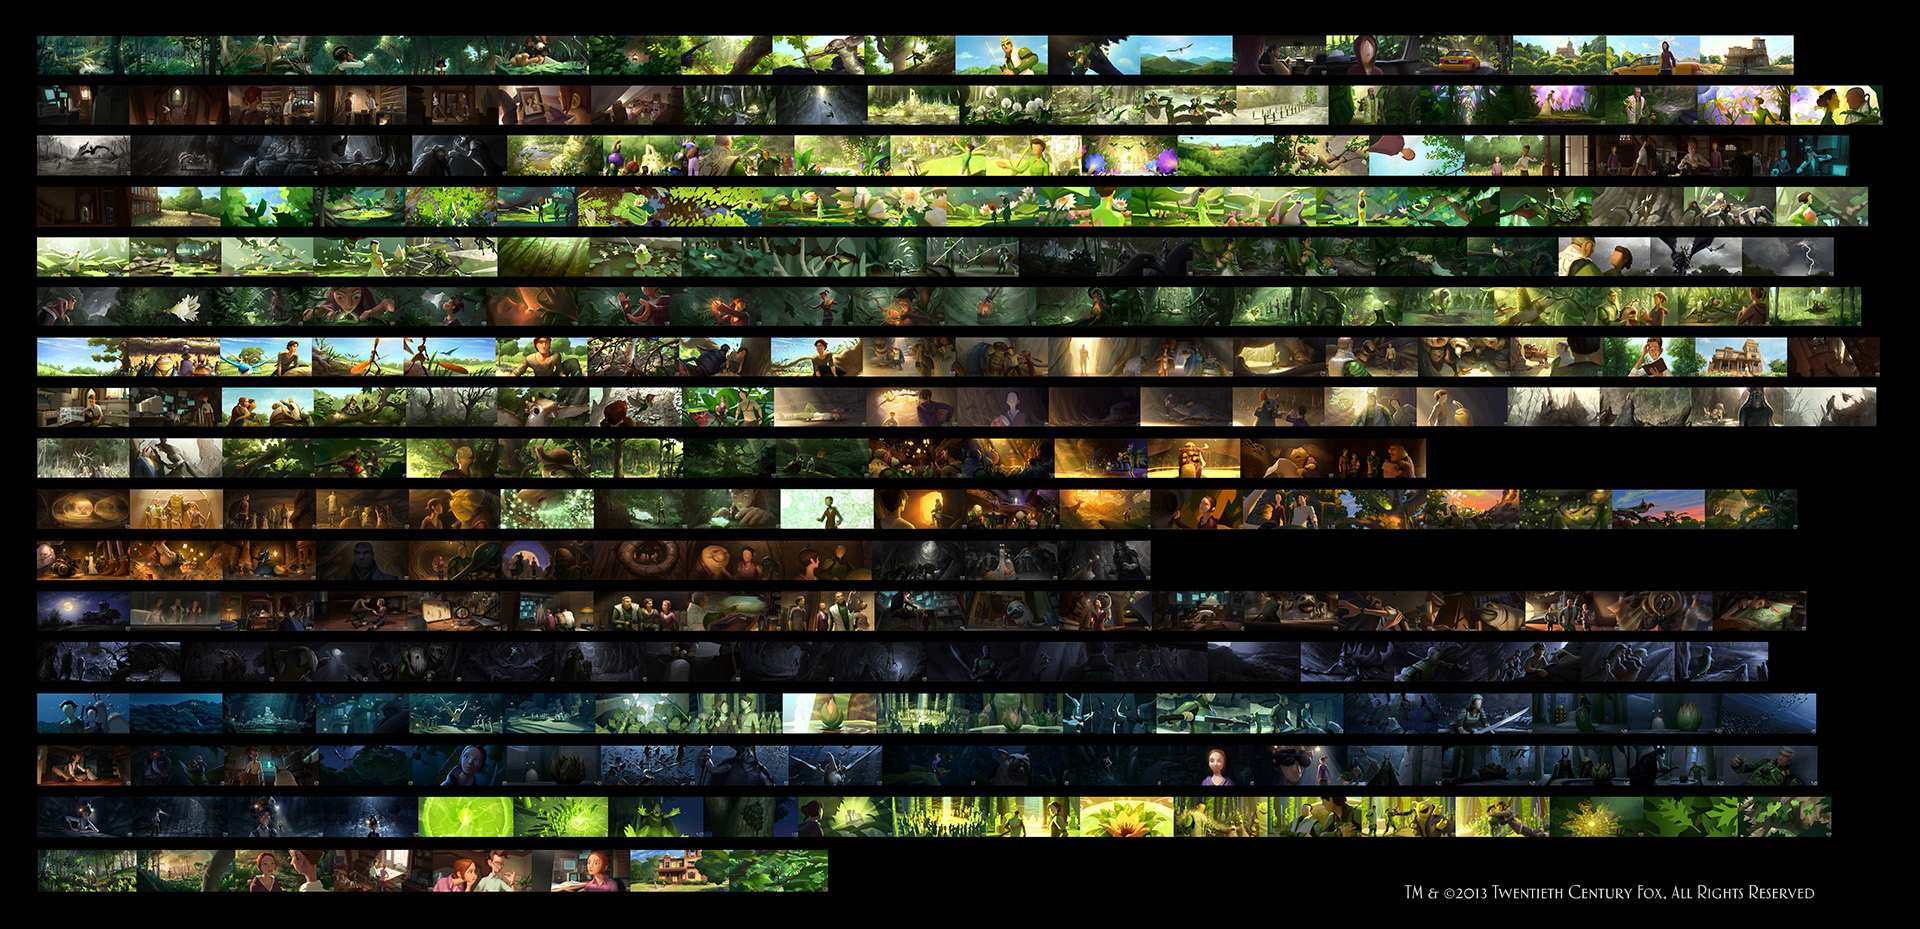 Finding Nemo Color Script
 Incredibles
Direct Lighting Types
In CG we have lighting models that we can use that have various properties. Lighting in CG does not work exactly the same as it does in the real world, though attempts are being made all the time to do so and things are getting quite good. Just look at this shot:
The Good Dinosaur
There are 2 different types of lighting that you'll find in Maya which are direct and indirect lighting. Direct lighting is the use of light that comes directly from the source such as a light bulb, flash light, the sun or a window. Indirect lighting comes from a direct source but through indirect means such as bouncing off of a wall, an overcast sky or in the open shade of a building. We will be looking at indirect lighting methods next week when we work on Rendering.
There are 6 main direct light types in Maya
 Even illumination across the entire scene regardless of position, rotation or scale.
 Omni directional illumination depending uppon position. Rotation and scale have no effect.
 Even illumination across the entire scene from a specific rotational direction. Position and scale have no effect.
 A cone of light based on position and rotation of the source much like a flash light. Scale has no effect.
 Variable illumination that comes from the source much light a light panel. Light source can be different shapes. Position, rotation and scale all have effect on light.
 Much like a point light but light only has effect on objects that fall within the volume of the shape of the light.
Shadows
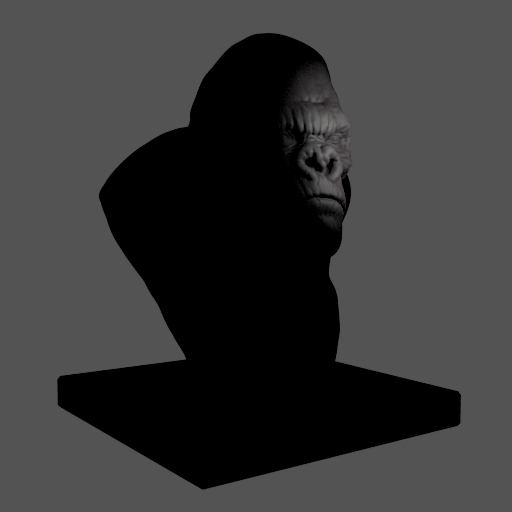
You may have noticed in the images above that there were no shadows being cast by our lights. In real life all light will cast a shadow. In CG it is optional. Shadows can be a difficult thing to control both in the real world and in CG to get the desired look of the shot. Shadows can also be amazingly powerful in composition as you can well see in the film examples above.
In Maya our lights allow for 2 types of shadow calculations. Depth Map and Ray Traced. Depth map shadows are almost always faster to calculate, but are far less accurate than ray traced. How and when you use them largly depends on the needs of your shot and computational environment.
 Directional light with depth map shadows enabled (resolution: 2048, filter size: 5)
 Directional light with ray traced shadows enabled (light angle: 2, shadow rays: 30)
 Directional light with depth map shadows enabled (resolution: 1024, filter size: 10)
 Directional light with ray traced shadows enabled (light angle: 3, shadow rays: 40)
Lighting Setups
Obviously we rarely ever use a single light within a scene nor a single type of light. There are a lot of techniques and tools to light scenes the way you want from an artistic perspective both with real lights and CG. You have seen many of these lighting setups before when you have taken school photos in the past. You usually see a few different flashes even some covered up with or reflected by umbrellas. If you have ever seen a film set you will see all this and more even if the shots being filmed are outside in broad daylight.
We are going to look at one specific lighting setup called Three Point Lighting. This setup is by no means what you should use in all ocations, but it does cover some very important aspects of the use of light to create visual balance and appeal.
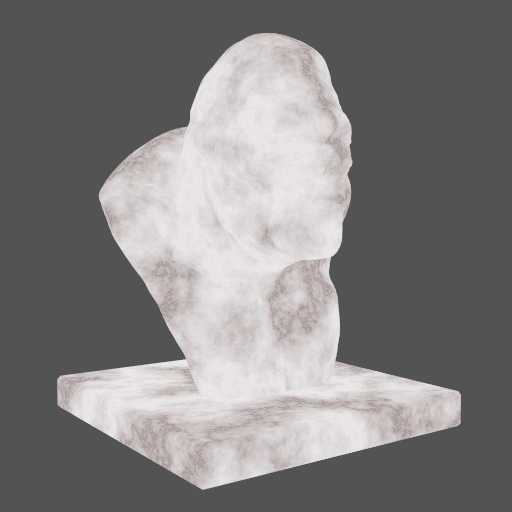
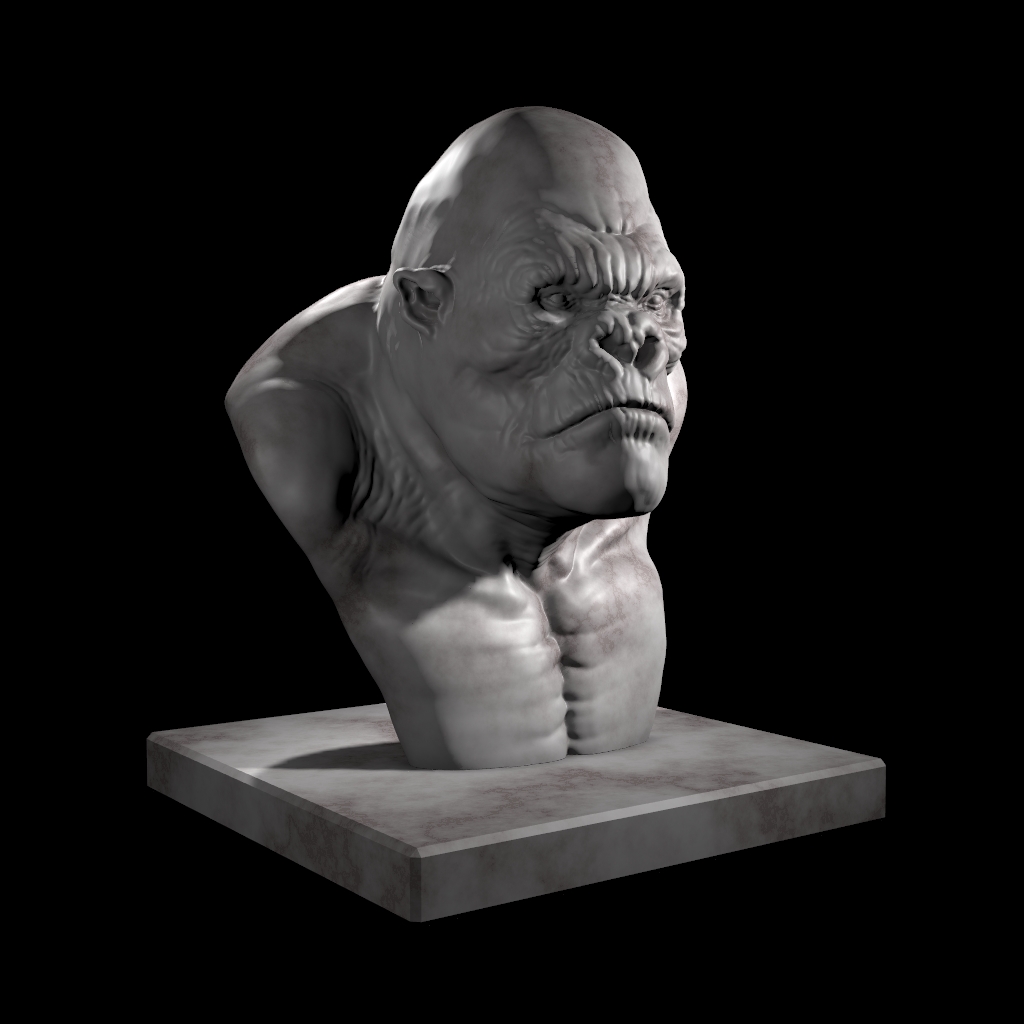
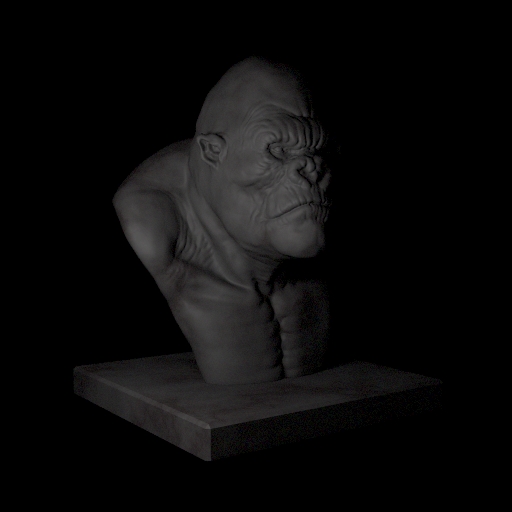
Three point lighting consists of 3 lights (suprising I know) positioned at angles around the main object of attention. Each of the lights fulfill a specific purpose. Before we see what it looks like let's take a look at the top view to see the layout
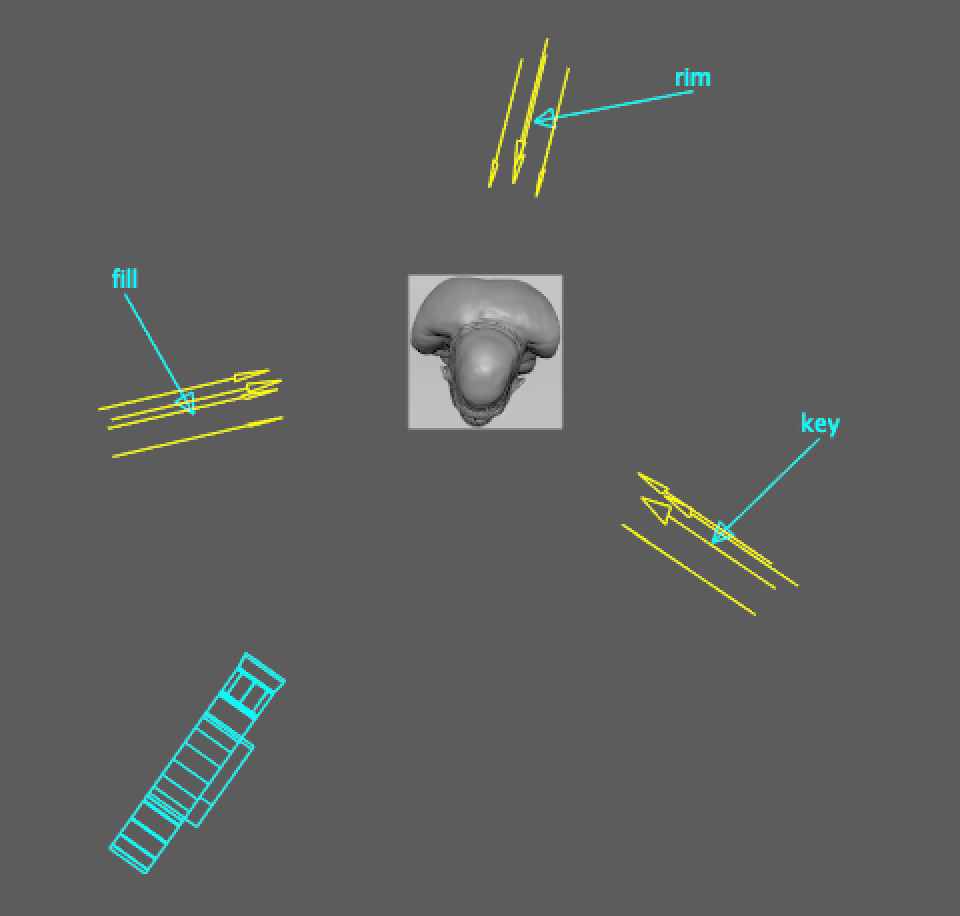
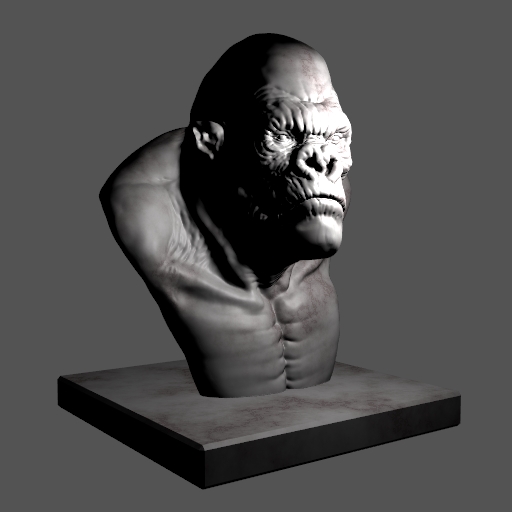
First see the orientation and position of the camera in relation to the subject of interes in the center. It is out a bit and at an offset angle of about 45 degrees to one side. The three lights you see are Key, Fill, and Rim. Let's view each of the lights on their own and discuss their purpose in this setup.
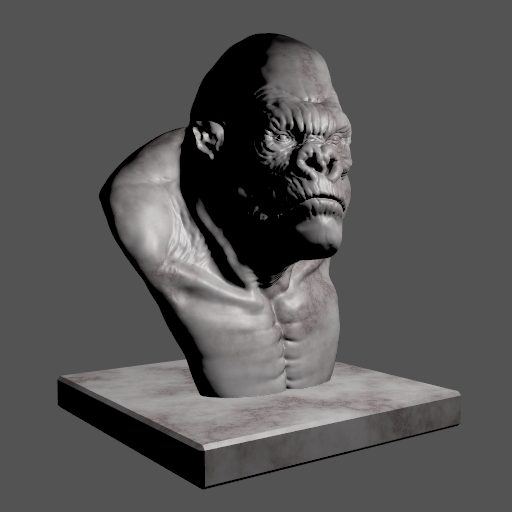
 This light should face the main subject either straight on or oposite the angle of the camera. This is the main light that should accentuate the desired features of the subject.
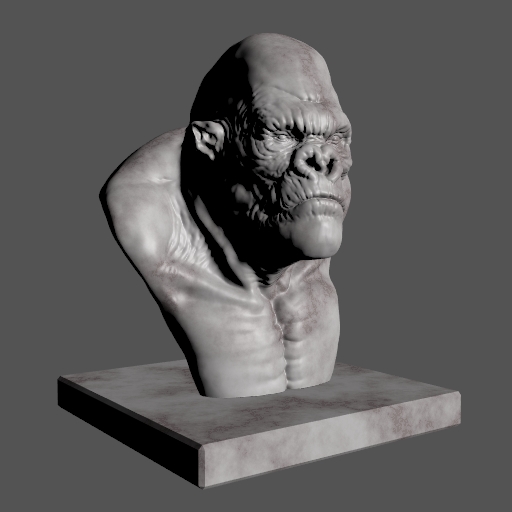
 This light serves the purpose to fill in the dark areas left by the key light. It is usually between 100 and 160 degrees offset by the key and is always much less intense.
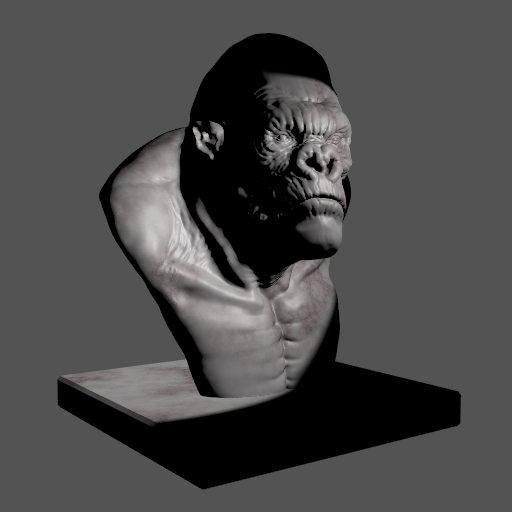
 The purpose of the rim light is to accentuate the perimeter features of your subject and separate It is placed directly behind and a little above and is quite bright.
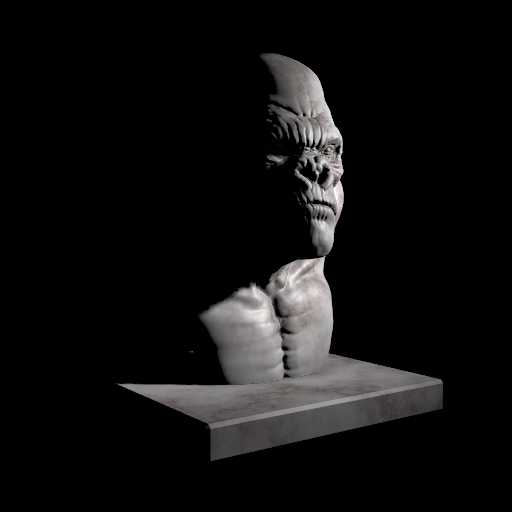
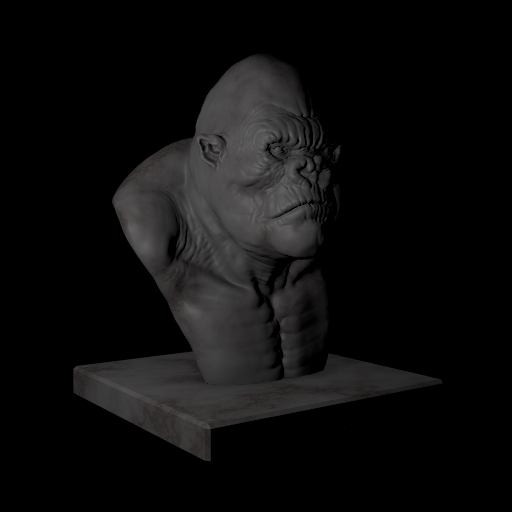
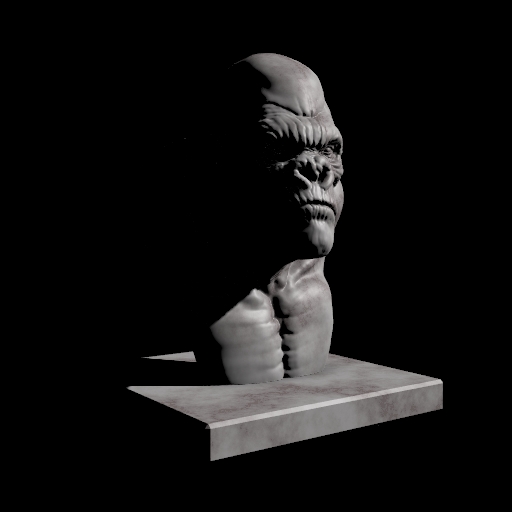
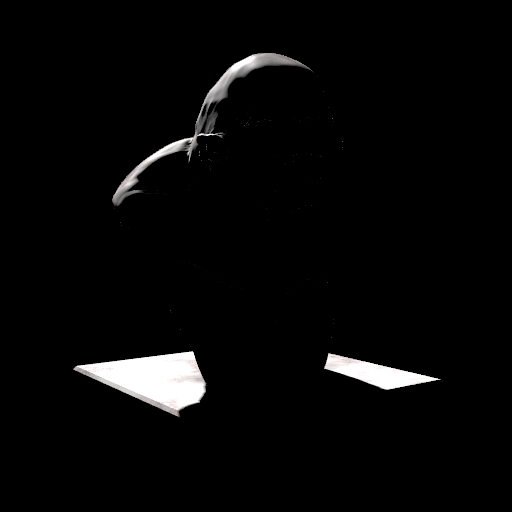
When combined together you get the following result.
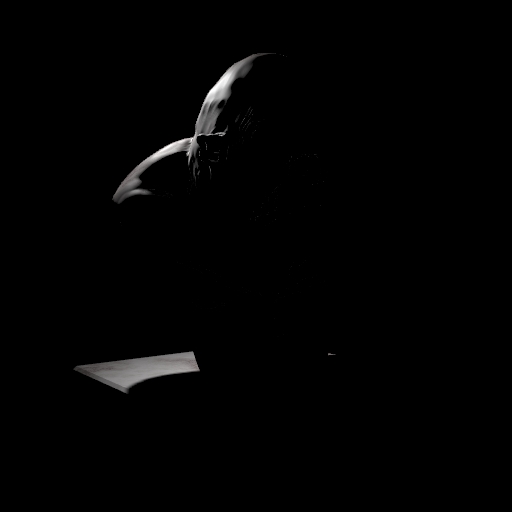
All 3 of the lights used in this example are spot lights with a linear decay. What you should notice as they are combined that the model has defined form and stands out from the background while the balance of the image is such that the blacks aren't crushed too black (save the background) and the whites aren't blown out. Let's take a look at a comparison of the use of directional and point instead of spot to see some of the differences.
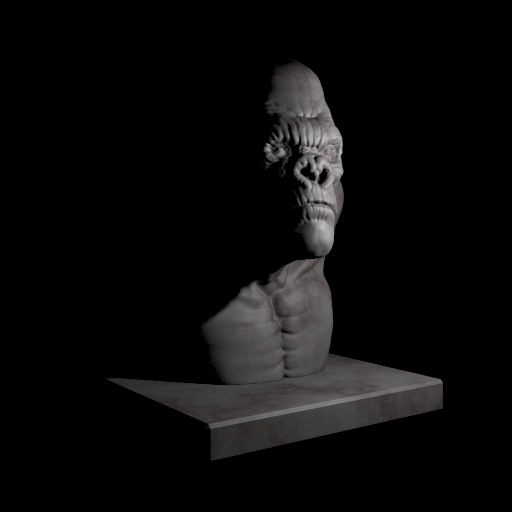
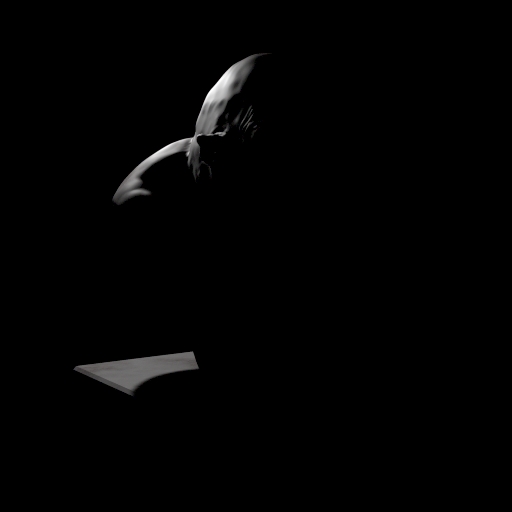
My attempts were to try and match the lighting quality and direction between each of the samples so you could analyze the differences in the lights themselves. There isn't a right or wrong example above though I definitely wouldn't use the directional light for the rim as it is clearly blowing out the white level on the platform.
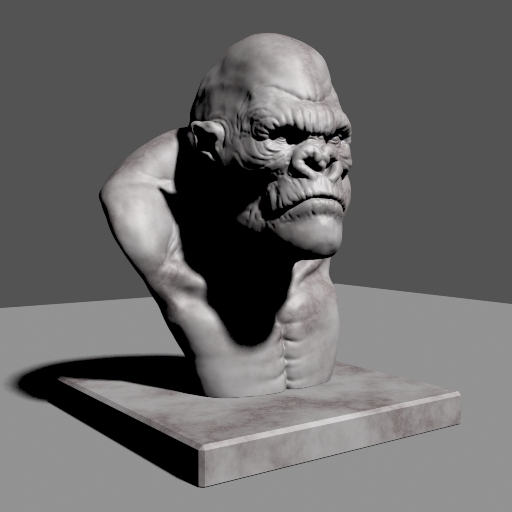
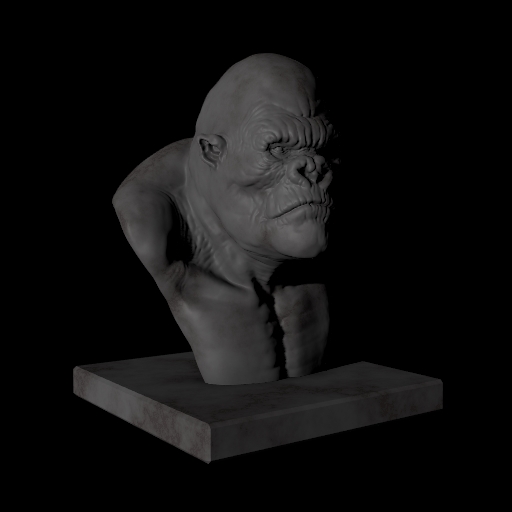
Now let's play with a bit of color to make it more interesting. There are many different combinations of color that can be used to create different feelings in the viewer. A common practice as we discussed above was the use of warm and cool contrasts in the same image. Let's take a look at what a simple shift of the key light to a cool blue and the fill to a warm orange will do to our image.
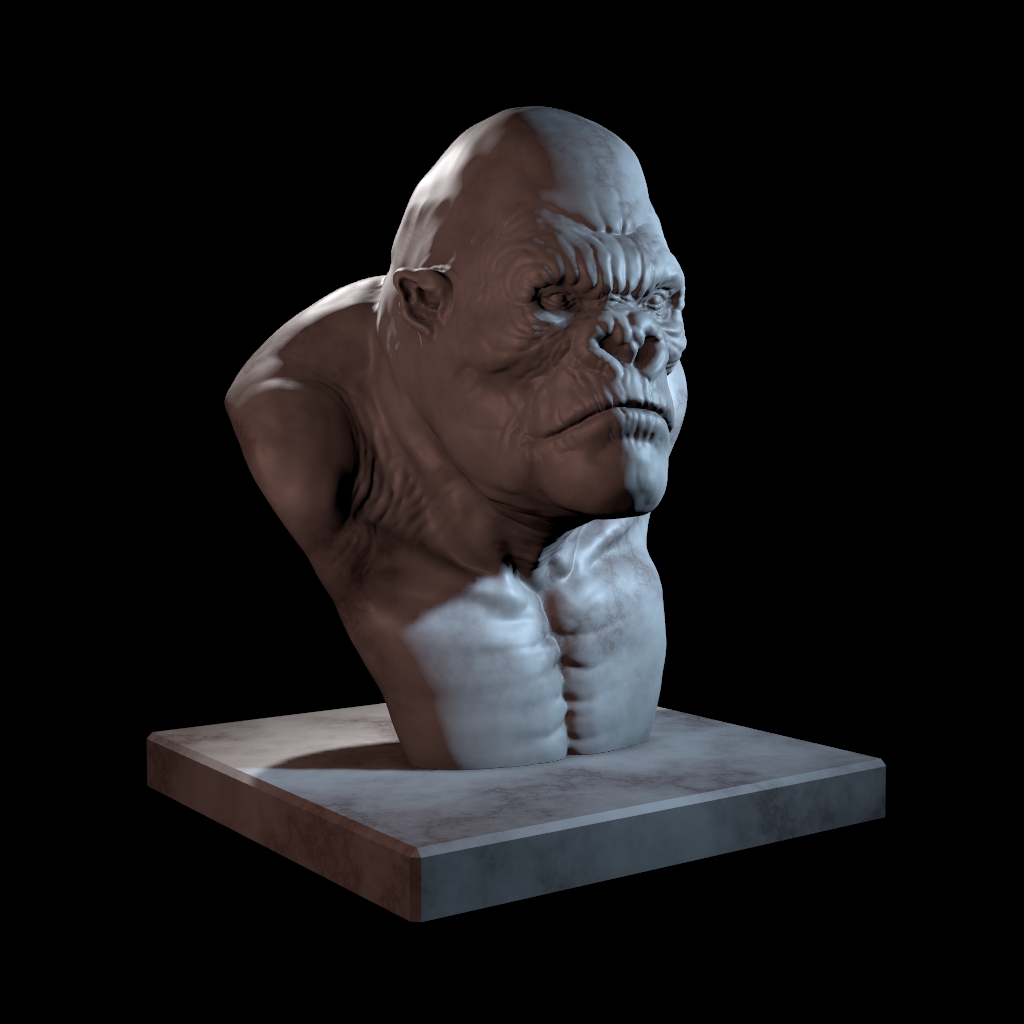
And before we get to your assignment let's see how our lighting setup will play with a more realistic shader. I did have to brighten up the lights a bit as the surface was much darker
Assignment
For your assignment this week you will be the lighting setup for your animated alien scene. Make sure you consider the use of 3-point lighting with multiple lights to make your shot interesting. Even if you just have a strong sun, consider a little bit of fill light and a rim light to help your ship stand out from the background.
You will turn in 3 rendered still frames from the sequence to Assignment 8 on UNM Canvas.
-
Module Instruction
Review Module Written & Video Material -
Discussions
Provide post to Discussion 7 on UNM Canvas -
Lab & Exercises
Work on material in lab -
Quiz
Complete Quiz 7 on UNM Canvas -
Assignment
Complete the 3-Point Bionic Spider Lighting Assignment #6 and submit on UNM Canvas